How to 3D Print Large Objects Beyond Your Printer’s Size
17 min
- Understanding Scale Limitations: Build Volume, Material, and Warping
- Material Matters: Choosing the Right Filament for Large 3D Print Models
- How to 3D Print Large Objects in Pieces (And Make Them Fit Perfectly)
- When to Use Large Format 3D Printing Services
- Print Settings That Matter: Speed, Layer Height, and Infill Strategy
- Keeping It Together: Post-Processing & Structural Bonding
- Troubleshooting Big Builds: Common Fails & Fixes
- FAQ about 3D Print Large Objects

Every maker hits this moment.
You design something ambitious. A full-size prop. A car interior panel. A furniture joint. A mold that actually fits the real part. You hit “slice”… and then reality shows up. The model is bigger than your build plate.
That’s the big challenge of going big.
3D printing large objects sounds simple until you try it. Your printer doesn’t suddenly grow just because your idea did. And scaling a model isn’t the same as successfully 3D printing at large scale. Once parts get bigger, new problems creep in: warping, layer shifts, long print failures at hour eighteen, weak seams when you split parts, and material cost stacking up fast.
Printing large is about three things:
1. Stability.
2. Slicing strategy.
3. Controlling material behavior over long durations.
When people ask how to 3D print big objects, what they usually mean is: how do you make something larger than your printer and still have it look and function like one solid piece?
You start thinking in sections. In structural alignment. In hidden seams. In reinforcement. How the part will actually be assembled after printing. Large-scale projects, car parts, cosplay armor, architectural models, furniture brackets, and production molds require a different mindset than small desktop prints.
At JLC3DP, we’ve seen both sides of this. Makers pushing hobby machines to their limits. Engineers are scaling prototypes into functional, full-size components. The difference between frustration and success usually comes down to preparation, not printer size.
In this guide, we’ll break down exactly how to approach 3D printing large objects in pieces the right way, including how to segment models intelligently, strengthen joints, manage print stability, and finish multi-part assemblies so they look intentional rather than patched together.
Because going big isn’t about owning a bigger machine.
Understanding Scale Limitations: Build Volume, Material, and Warping
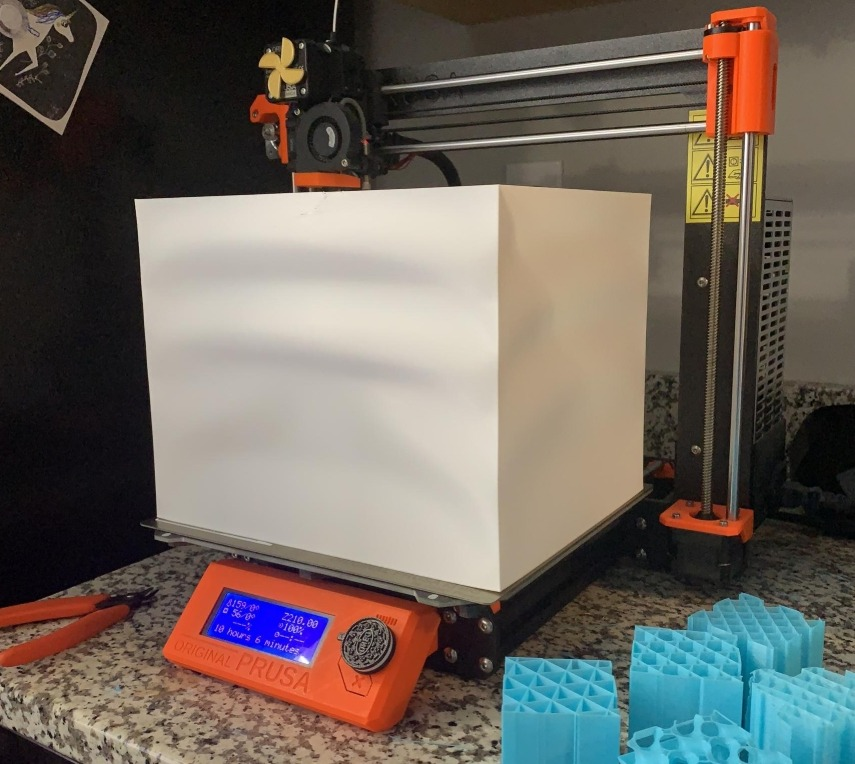
Before you even think about slicing, you need to understand what’s physically limiting you.
A “3d printer for large objects” isn’t just a regular machine stretched taller. It usually means three things: a larger build volume, a gantry that doesn’t flex under its own weight, and extrusion that stays consistent for twelve, twenty, sometimes forty hours straight.
Build volume is the obvious constraint. If your printer has a 300 × 300 × 400 mm envelope, that’s your hard boundary. No slicer trick changes physics. When people move into 3D printing large scale territory, they’re usually stepping into 500 mm+ machines, or fully industrial systems with meter-class beds.
But size alone doesn’t make a printer capable.
Once you scale up, mechanical stability starts to matter more than resolution. A tall Z-axis introduces wobble. Long belts introduce tension inconsistencies. Heavy toolheads amplify vibration. A gantry that feels solid on a small desktop frame can start flexing when stretched to double the width.
Then there’s heat.
Large prints hold heat longer. They also cool unevenly. That’s where warping and shrinkage show up. Materials like ABS or nylon contract as they cool, and the larger the footprint, the more internal stress builds across the surface. Corners lift. Edges curl. Long flat panels twist.
This is why 3D printing large objects is rarely just “scale up and press print.” Thermal behavior becomes a structural issue.
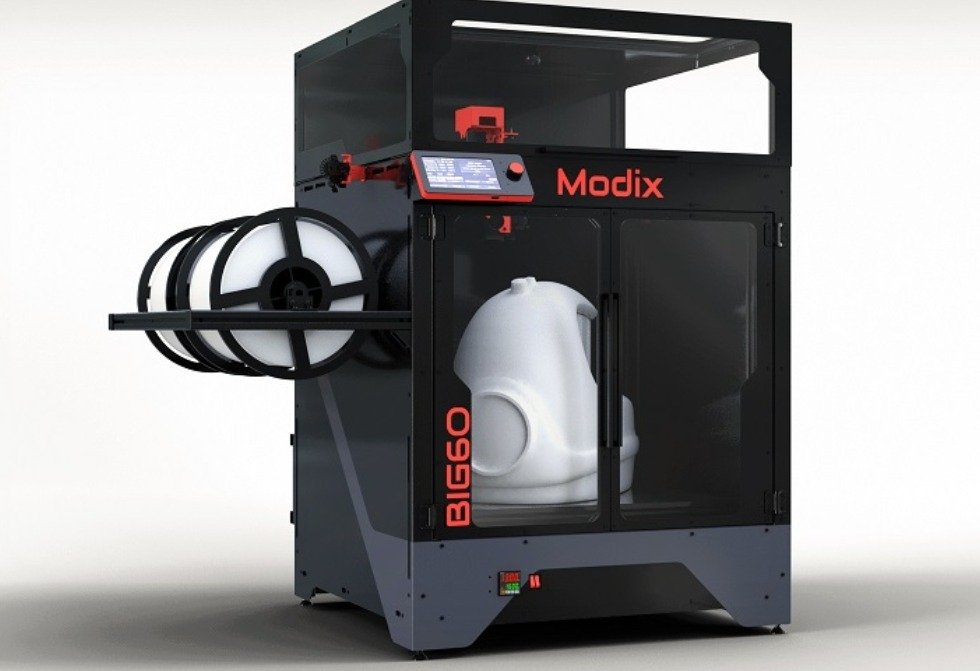
Look at machines like the Modix Big-60 or the Creality CR-M4. They’re designed with reinforced frames and extended build areas specifically for bigger parts. Step further into industrial territory and large-format FDM systems use rigid steel frames, high-flow extruders, and heated chambers to control environmental variables.
Because once a print runs for 30+ hours, small instabilities compound.
Vibration becomes visible as ghosting across long walls.
Inconsistent extrusion shows up as surface banding.
Thermal gradients create internal stress lines you don’t see until post-processing.
And this is where enclosures stop being optional.
For large-scale prints, especially with temperature-sensitive materials, an enclosed build chamber stabilizes airflow and slows cooling. That alone can be the difference between a flat 600 mm panel and one that curls at the corners overnight. Controlled ambient temperature reduces shrinkage stress and improves layer bonding.
In short, when people talk about a 3d printer for large objects, they’re really talking about structural rigidity, thermal control, and endurance.
Because at large scale, physics screams louder.
And if you don’t plan for that, it will show up halfway through the print, not at the beginning.
Material Matters: Choosing the Right Filament for Large 3D Print Models
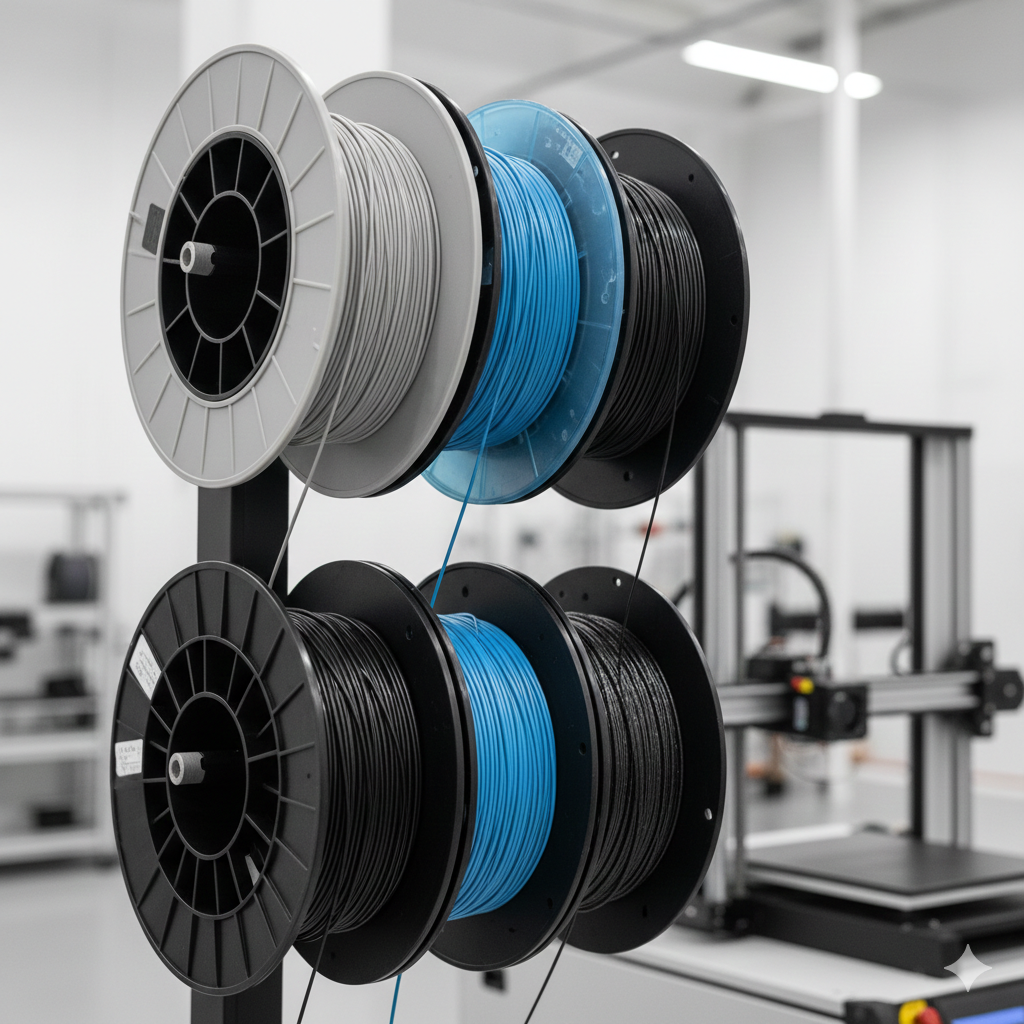
When you move into 3D printing large objects in parts, material choice stops being a convenience decision and starts becoming structural.
PLA is easy. It prints clean. It doesn’t demand much from your machine. But scale changes the equation. Large PLA parts can feel solid at first, until they sit in a warm car, under stage lighting, or in direct sunlight. It softens earlier than people expect. It’s also more brittle across long spans. A small bracket in PLA? Fine. A large functional panel? Risky.
If you’re figuring out how to 3d print large objects that need to survive real-world use, you need materials that handle stress and temperature better.
PETG is often the first step up. It’s tougher than PLA and handles moderate heat better, while still being manageable on most machines. It also bonds well between layers, which matters when your part is tall and under internal stress.
If you’re experiencing failures with resin, try reading our guide on 8 resin fails and their solutions.
ABS and ASA go further. They’re stronger, more temperature-resistant, and better suited for functional parts. ASA in particular holds up outdoors, UV stability makes a difference if your large print lives outside. But, they shrink more. Without an enclosure, warping becomes a real problem at scale.
Then there are carbon fiber blends. Carbon fiber reinforced filaments increase stiffness and dimensional stability across long sections. That’s valuable for large panels or structural components that shouldn’t sag. But they also demand hardened nozzles and stable extrusion, and they don’t magically eliminate warping. They simply change how the part behaves under load.
As parts grow, cooling behavior changes too.
A small object cools quickly and evenly. A large footprint cools unevenly across its surface. Corners contract first. The center holds heat longer. That differential creates internal stress. Bed adhesion becomes more critical. Brims get wider. First-layer consistency becomes non-negotiable.
Layer bonding also becomes more sensitive. Long print times mean temperature fluctuations in the room can affect consistency. A draft that wouldn’t matter on a 2-hour print can cause visible layer separation on a 30-hour one.
For industrial readers, there’s another path entirely.
If strength, isotropy, or dimensional stability are critical, Powder-bed systems like SLS significantly reduce warping because the surrounding powder supports the part during printing and maintains consistent thermal conditions.
Resin systems can produce large parts with exceptional surface detail, though they introduce their own scaling limits and usually have a more limited build volume than FDM systems.
The point isn’t that one material is “best.”
It’s that scaling up multiplies material behavior.
When planning 3D printing large models, choose filament based on real-world load, temperature exposure, and structural expectations, not just what prints easiest on a small test piece.
Because a material that behaves fine at 100 mm doesn’t always behave the same at 600.
How to 3D Print Large Objects in Pieces (And Make Them Fit Perfectly)
At some point, you accept it: the model isn’t fitting on your bed.
That’s when you stop asking if you can scale it and start asking how to 3D print large objects in pieces without turning the final result into a visible patchwork.
Because splitting a model is easy.
Making it look intentional isn’t.
Step 1: Section the Model Intelligently
The biggest mistake people make when learning how to print large 3D parts is slicing randomly.
Don’t cut where it’s convenient. Cut where it makes structural and visual sense.
Flat surfaces are easier to align and bond. Hidden seams, under trim lines, along panel edges, beneath armor ridges, disappear after finishing. If you’re printing something like a helmet, split along natural contour lines. For a car panel, divide along body seams. For furniture components, break at joint transitions.
Use CAD when possible. Programs like Fusion 360 give you controlled plane cuts, parametric alignment features, and clean geometry. If you’re working from a mesh file, Meshmixer has solid plane cut tools that let you define clean separation lines without wrecking the geometry.
Slicers can help too. PrusaSlicer, for example, allows you to split parts and add connectors directly inside the software, useful when you don’t want to rework the original model.
The goal isn’t just to make pieces printable.
It’s to make them reassemble precisely.
Step 2: Add Alignment Features (Don’t Trust Glue Alone)
If you’re serious about 3D printing large objects, don’t rely on eyeballing alignment during assembly.
Add alignment pins. Add sockets. Add interlocking geometry.
Simple cylindrical dowel holes work. Even better: keyed joints that prevent rotation. Tongue-and-groove edges help distribute load across seams instead of concentrating stress in adhesive.
For structural parts, like a large bracket or furniture support, internal ribs can overlap across segments to strengthen the bond zone.
The cleaner your mechanical alignment, the less frustration during assembly.
Glue should reinforce alignment , not create it.
Step 3: Adhesive Strategy
Different materials bond differently.
PLA can bond well with CA glue for cosmetic parts. ABS can be chemically welded with solvent. PETG usually prefers epoxy.
For larger assemblies, two-part epoxy provides gap filling and better long-term strength. Clamp evenly. Don’t rush cure time. Large parts amplify small misalignments.
If the part will carry load, consider adding internal reinforcement rods or threaded inserts across joint lines.
The seam should not be the weakest point in the design.
Real Example: Printing a Cosplay in Sections
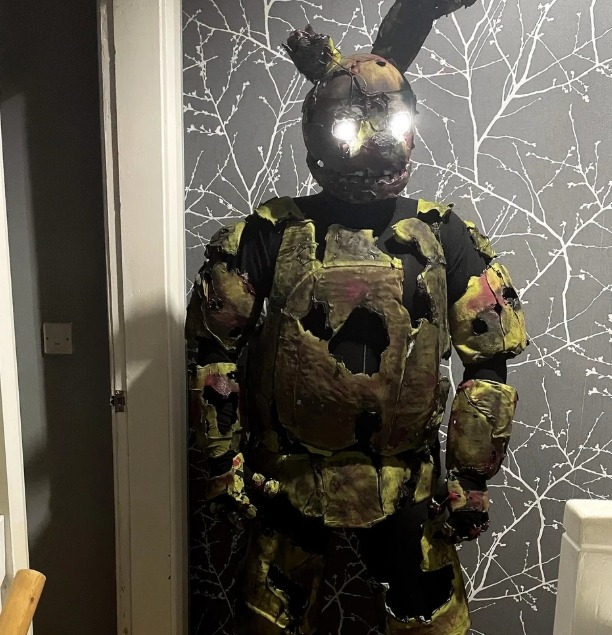
Say you’re printing a full-scale cosplay helmet.
It won’t fit on a standard desktop printer in one piece. So you split it into quadrants, front, back, left, right, following natural contour lines. Add alignment pins along the seam edges. Print with slightly oversized pin holes to allow for tolerance adjustment.
After bonding, you sand the seam. Apply filler. Sand again. Prime. Sand again.
Suddenly the seam disappears.
Same logic applies to a large automotive interior panel. Or a furniture leg housing. Or a mold body. Segment intelligently. Align mechanically. Finish aggressively.
That’s the workflow behind successful 3D printing large objects at scale.
Planning a large build and not sure if your printer, or your segmentation strategy, can handle it? Upload your file to JLC3DP and get a free quote with expert feedback before you commit to a 30-hour print.

When to Use Large Format 3D Printing Services
Even with smart segmentation, 3D printing large objects in pieces isn’t always the best solution.
Some designs require a single continuous structure, tight dimensional accuracy, or materials that hobby printers struggle to handle. In those cases, using a large-format 3D printing service can save time, reduce failure risk, and deliver stronger results.
Here are a few situations where professional printing becomes the better option.
When Your Printer’s Build Volume Isn’t Enough
Desktop printers typically have build volumes between 200 mm and 350 mm. Once your model exceeds that space, you either have to split it into multiple parts or move to a larger machine.
While segmentation works for many projects, certain geometries become difficult to reassemble accurately. Large architectural models, industrial housings, and automotive components often benefit from being printed as one continuous piece to avoid alignment issues and seam finishing.
Large-format printers used by professional services can handle significantly bigger builds without requiring segmentation.
When the Part Must Be Printed as One Piece
For functional components, seams can become structural weak points.
Even when bonded with epoxy or reinforced with dowels, joints may introduce stress concentrations under load. If the part will experience mechanical stress, vibration, or temperature changes, printing it in a single uninterrupted build often produces a stronger and more reliable result.
Industries such as automotive prototyping, robotics, and tooling frequently prefer single-piece prints whenever possible.
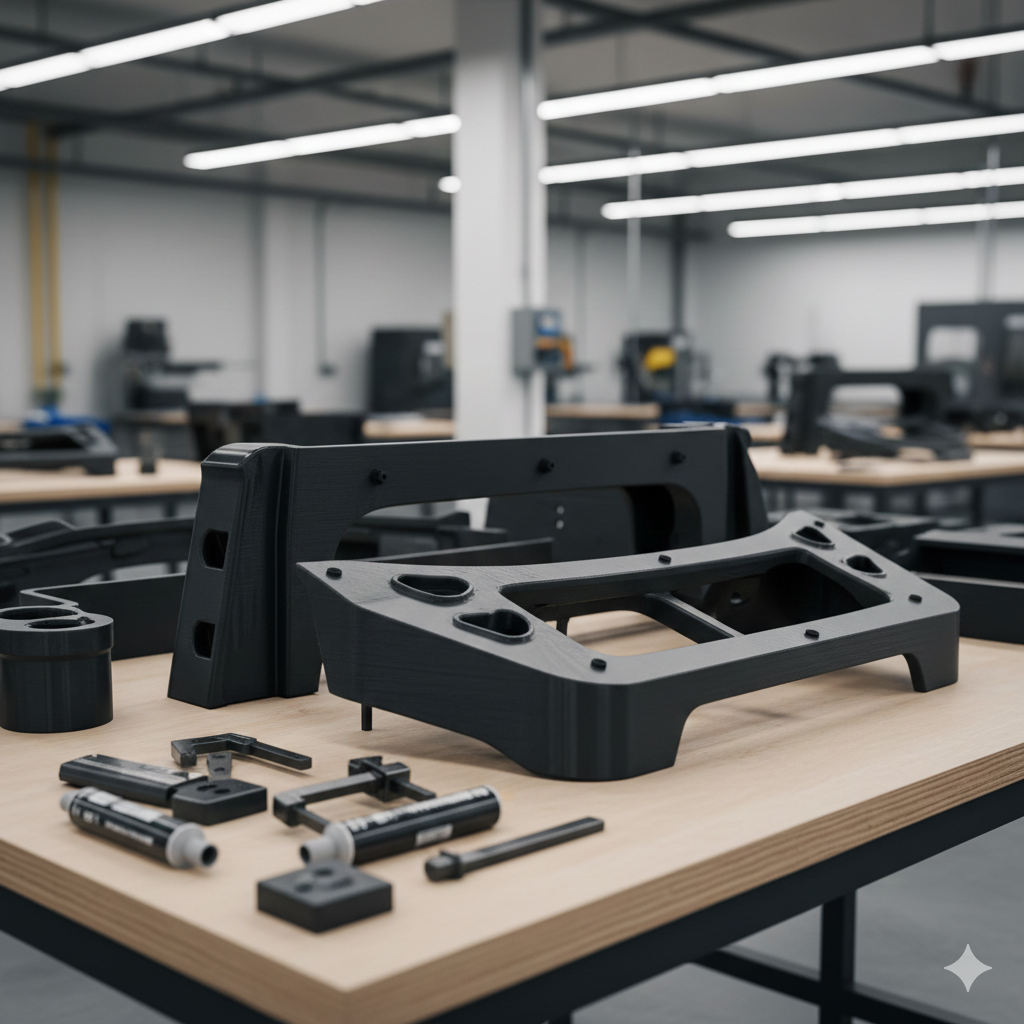
When Strength and Dimensional Accuracy Matter
Large prints also introduce thermal and mechanical challenges that hobby machines sometimes struggle to control.
Industrial systems typically offer:
· rigid steel frames for stability
· controlled temperature environments
· higher extrusion flow for large parts
· better consistency during long prints
These factors significantly reduce the risk of warping, layer separation, and long-print failures.
A Practical Alternative for Oversized Prints
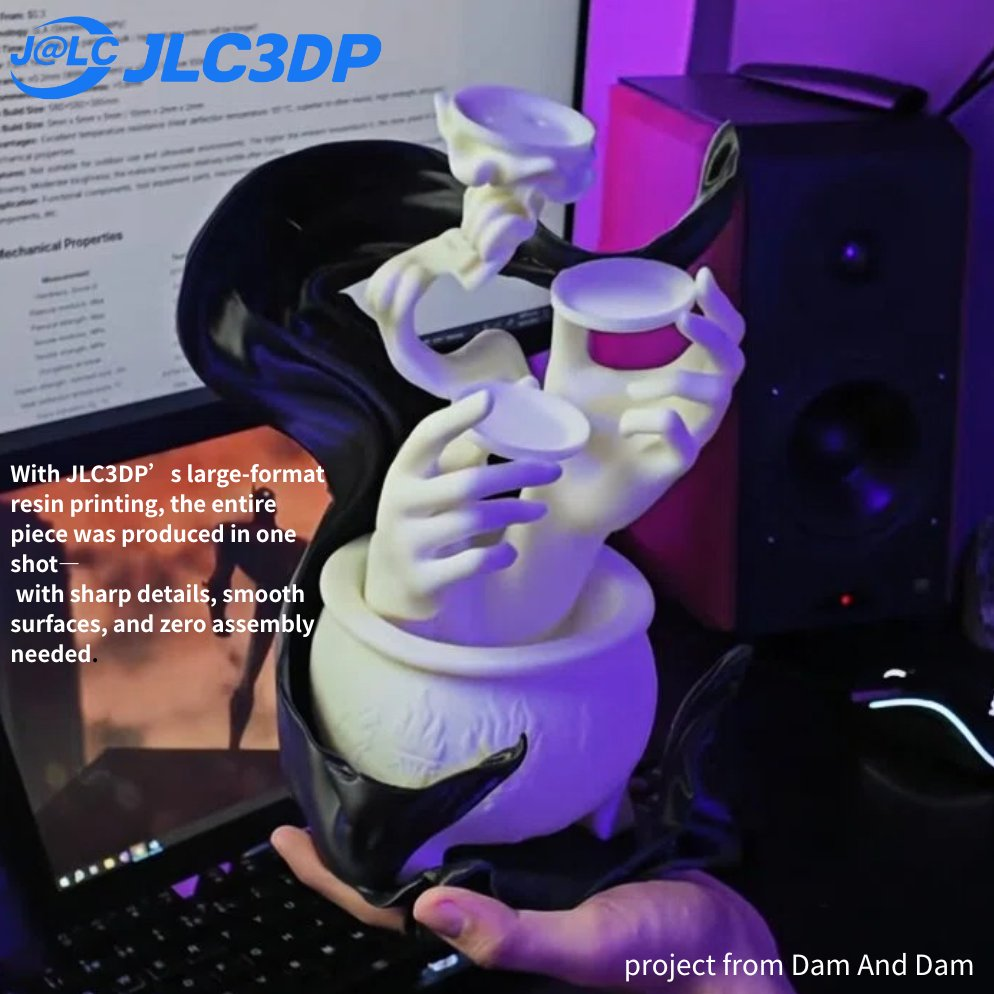
If your design is pushing beyond the limits of a desktop machine, professional services like JLC3DP can produce large-scale parts using industrial 3D printing systems.
Instead of splitting complex models into many pieces, large-format printing allows engineers and makers to manufacture oversized components with better structural integrity and fewer assembly steps.
You can upload your model to JLC3DP to receive a quote and check whether your design can be produced as a single large-format print or an optimized multi-part build.
Print Settings That Matter: Speed, Layer Height, and Infill Strategy
When you move into 3D printing large scale, your slicer settings stop being minor tweaks and start becoming risk management.
Small prints forgive mistakes. Big prints don’t.
If you’re figuring out how to 3d print large objects, these are the parameters that quietly decide whether your 28-hour job succeeds or fails at hour 23.
| Parameter | Safer for Large Prints | Risk if Ignored |
| Layer Height | 0.28–0.4 mm (or adaptive) | Excessive print time or rough surface finish |
| Nozzle Size | 0.6–1.2 mm for structural parts | Weak walls, unnecessary long builds |
| Infill | 10–20% with strong wall count | Wasted material or weak internal support |
| Bed Leveling | Precisely calibrated across full area | Warping, first-layer failure |
| Z Stability | Rigid gantry, aligned lead screws | Visible banding on tall prints |
| Extrusion Control | Dry filament, consistent temp | Layer separation or weak bonding |
Desktop machines can handle many large builds when properly calibrated. However, for 3D printing large objects at industrial scale, controlled environments, rigid steel frames, and high-flow extrusion systems significantly reduce failure risk. This is why professional large-scale production services like JLC3DP focus on mechanical stability and thermal management for oversized components.
Keeping It Together: Post-Processing & Structural Bonding
When you’re learning how to print large 3d objects, printing is only half the job.
Assembly is where it either becomes solid, or starts cracking at the seams.
Large multi-piece prints need mechanical alignment and chemical strength working together. Glue alone won’t save a poorly planned joint.
Bonding Methods That Actually Hold
Epoxy bonding is reliable for structural builds. Two-part epoxy fills gaps and gives you working time to align sections properly. Clamp evenly. Let it cure fully. Rushing this stage is where slight misalignment gets locked in forever.
Dowel insertion adds internal strength. Drill matching holes across seam lines and insert metal or printed dowels before bonding. This spreads the load across the joint instead of concentrating stress on the adhesive.
For ABS, solvent welding creates a chemical bond by softening and fusing the plastic at the seam. When done correctly, the joint behaves almost like a continuous part.
A 3D pen fusion pass can also reinforce seams. Melt filament into the internal seam line and blend layers together. It’s surprisingly effective for helmets, props, and panels where internal reinforcement helps.
For load-bearing applications, combining dowels and epoxy creates a much stronger assembly than surface bonding alone.
Making It Look Like One Unified Part
After bonding, the real transformation begins.
Seam filling with epoxy putty or automotive filler smooths uneven edges. Apply in thin layers. Sand. Reapply. Repeat. Patience here determines final appearance.
Start sanding with coarse grit to level the joint, then step down gradually to finer grits. Primer helps reveal imperfections you didn’t see before.
For cosmetic builds, filler primer followed by wet sanding produces a near-injection-molded finish. Paint hides layer lines and seam transitions when surface prep is done properly.
For functional parts, CNC trimming or routing after bonding can clean edges and restore critical dimensions to tolerance.
Well-finished multi-piece assemblies don’t look assembled.
They look intentional.
And that’s the goal in serious 3D printing of large objects.
Troubleshooting Big Builds: Common Fails & Fixes
When dealing with how to 3d print big objects, failures tend to appear later in the process, after hours of printing.
Layer shifts often trace back to belt tension, loose pulleys, or sudden mechanical resistance. On tall prints, even small misalignment compounds across height.
Under-extrusion can result from partial nozzle clogs, wet filament, or inconsistent feed tension. Moist filament expands into steam inside the hotend and disrupts extrusion flow. Keeping filament dry makes a noticeable difference on long builds. If under-extrusion inconsistencies keep appearing during long prints, revisit the fundamentals in our guide on 6 fixes for under-extrusion before starting another large build.
Temperature gradients inside open rooms create uneven cooling. Drafts hitting one side of a large print can cause curling or visible layer separation.
First-layer failures become catastrophic on wide footprints. Recheck bed leveling across the entire surface. Confirm adhesion with brims or rafts if necessary.
Power consistency matters too. Long prints interrupted by voltage drops can end abruptly. A UPS system provides insurance against sudden outages.
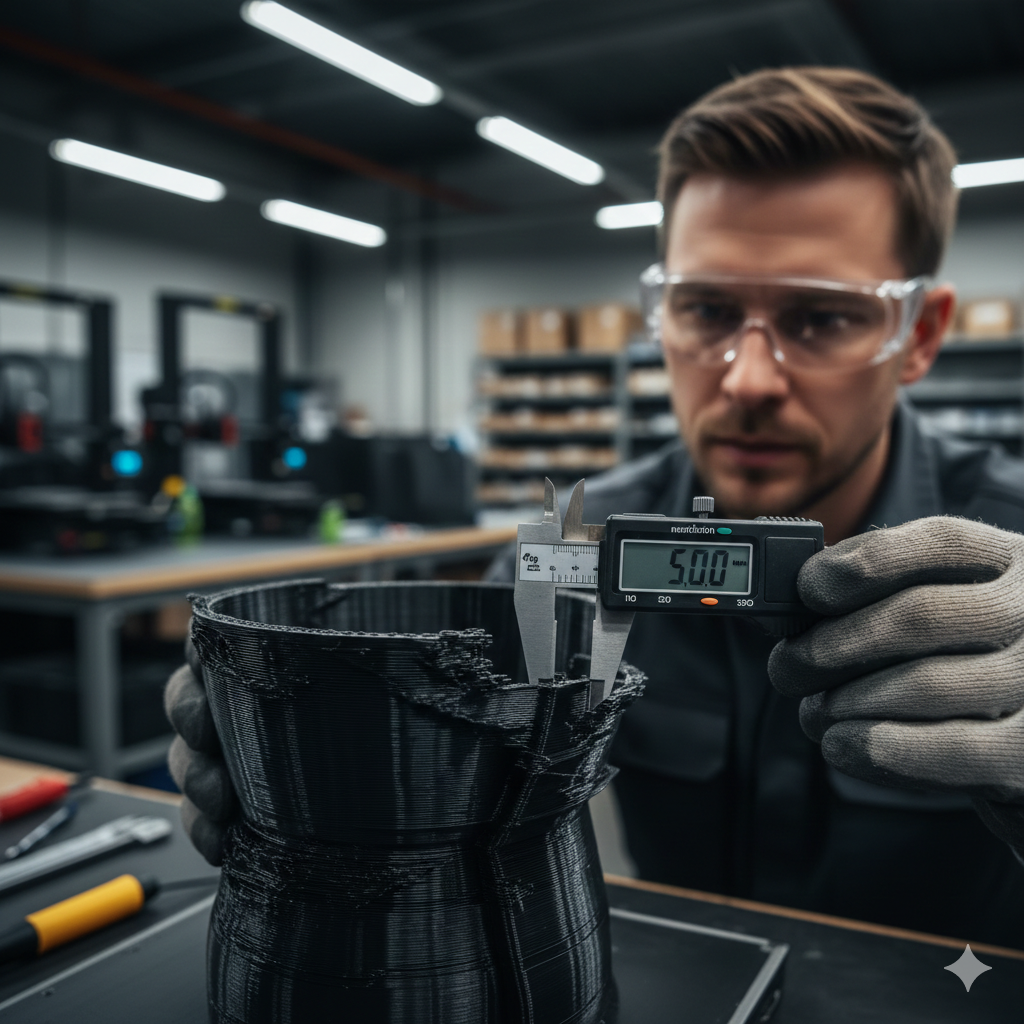
Repairing or Resuming a Failed Large Print
If a large print fails mid-way, all isn’t lost.
Measure the height where it stopped. Modify the model in CAD to remove the completed portion. Resume printing the remaining section and bond it carefully to the finished part.
For minor surface flaws or layer separation, localized epoxy reinforcement and sanding can rescue cosmetic builds.
Preventative maintenance helps too. Performing a cold pull periodically reduces clog risk. Understanding extrusion calibration also prevents surface inconsistencies, topics worth reviewing in guides like 3D Printer Cold Pull to 3D print big parts with ease.
Large builds demand patience.
But once you understand how 3D printing large objects behaves at scale, problems become manageable instead of mysterious.
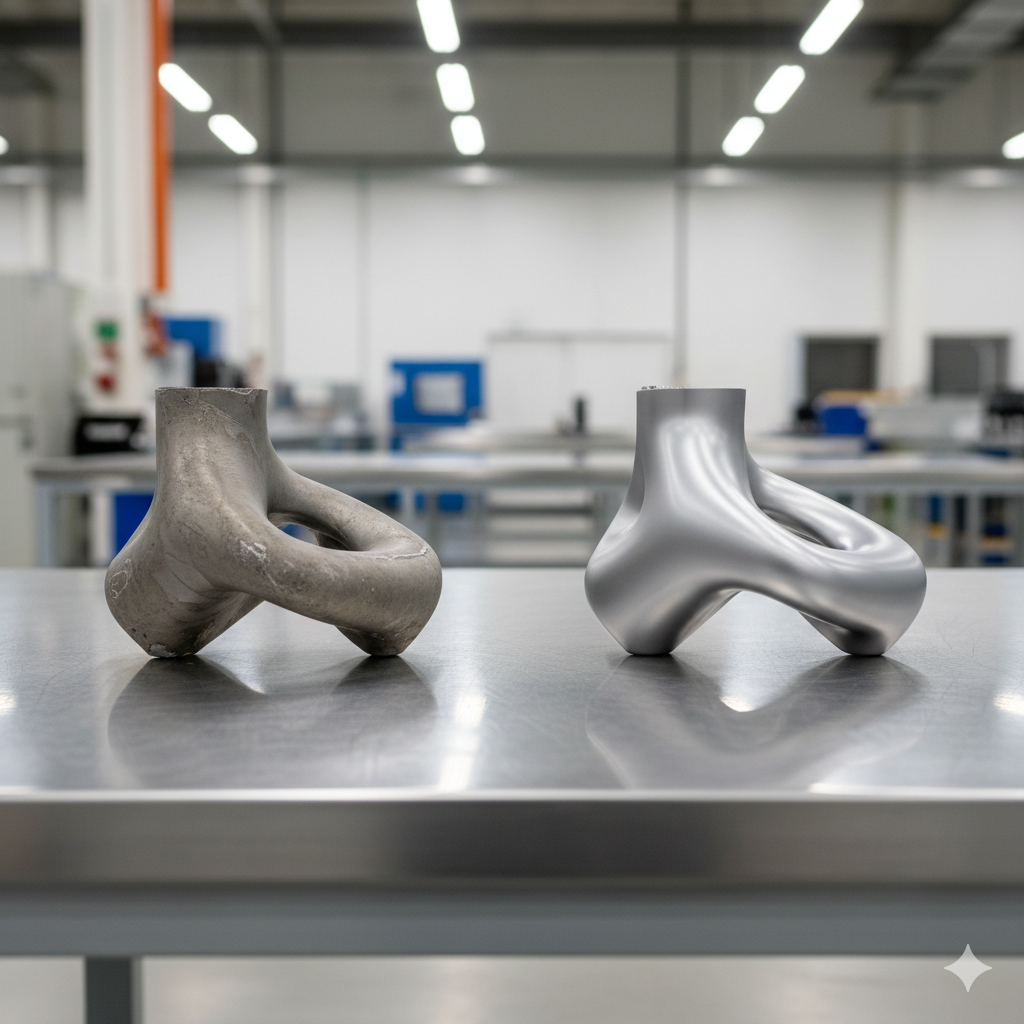
From Print to Precision
Large prints often require post-processing to meet tight tolerances.
Surface machining, edge trimming, drilled mounting holes, and dimensional refinement bring oversized printed parts into functional alignment with metal assemblies.
This is where CNC steps in.
Beyond DIY segmentation and reinforcement, JLC3DP offer professional large-scale 3D printing combined with CNC refinement allows complex parts to move from concept to functional application faster.
Because printing gets you the form.
Machining brings it into exact alignment.
FAQ about 3D Print Large Objects
Q1: What is the largest object you can 3D print?
A: Large-format industrial printers can produce parts over 1 meter in size, while desktop printers typically range from 200–350 mm build volume.
Q2: How do you split a large model for 3D printing?
A: Large models are typically segmented in CAD software along natural seams. Alignment pins, dowels, or interlocking joints help ensure precise assembly after printing.
Q3: Can large 3D prints be strong?
A: Yes. Strength depends on material choice, wall thickness, print orientation, and reinforcement methods such as epoxy bonding or internal rods.
Q4: What is the best filament for large 3D prints?
A: PETG, ABS, and ASA are commonly used for large prints because they offer better durability and heat resistance than PLA.
Q5: What industries use large-scale 3D printing?
A: Industries such as automotive, architecture, film production, robotics, and manufacturing frequently use large-format 3D printing for prototypes and functional components.
Keep Learning
How to 3D Print a Perfect Airless Basketball Without Failing
To figure out how to 3D print an airless basketball that actually bounces, you need four things: A proven airless basketball STL A bounce-optimized material (TPU or PEBA) Correct print settings A lattice structure designed for energy return Most failed prints are not caused by the printer itself. They fail because the material or structure cannot efficiently return energy during impact. This guide breaks down the exact community-tested STL files, the ultimate showdown between TPU and PEBA materials, a......
How to 3D Print Large Objects Beyond Your Printer’s Size
Every maker hits this moment. You design something ambitious. A full-size prop. A car interior panel. A furniture joint. A mold that actually fits the real part. You hit “slice”… and then reality shows up. The model is bigger than your build plate. That’s the big challenge of going big. 3D printing large objects sounds simple until you try it. Your printer doesn’t suddenly grow just because your idea did. And scaling a model isn’t the same as successfully 3D printing at large scale. Once parts get big......
How to prevent 3d printing warping problems
3d printing warping is one of the most common problems faced by 3d printing enthusiasts. Especially when printing larger models, the printed parts initially adhere to the print bed, but then the edges of the prints lift off the print bed and curl, causing the model to deform and waste material. The main reason for warping is that plastic materials cool and shrink when printed, which causes deformation. This article will analyze the causes of warping and use suggestions to prevent 3d printing warping t......
Getting Smoother Curves: Understanding Non-Planar 3D Printing
Image via: Pexels by Jakub Zerdzicki Visible layer lines commonly known as stair-step effect can be an issue on your curved or sloped surfaces 3D printed parts. This common challenge in additive manufacturing affects both the look and sometimes the strength of your components. Non planar 3D printing is a developing technique that directly addresses this problem by changing how layers are applied. This article will help you understand the following about non planar 3D printing: ● What it means and how ......
Can You 3D Print a Key? Legal Risks, Materials & 3D Printing Tips
(Freepik) Thinking of a fun and functional project? Or afraid of losing your keys and wondering if your 3D printer can save the day? You’re not alone. 3D printing keys has become a hot topic in maker forums and locksmith circles alike. Whether it’s a house key, a car key fob shell, or a custom-designed lock, the idea of duplicating or prototyping a key using just plastic filament and a CAD file is incredibly tempting. But the problem is: printing keys isn’t always legal, it doesn’t always work, and de......
Achieve Faster 3D Printing With These Simple Tips
Image via: Pexels by Fox Many users, particularly those with popular desktop FDM printers, want to know how to get faster 3d prints. Making 3d printing faster means quicker project completion and more efficient iteration. This article provides answers on how to increase your printer speed, especially your PLA printing speed. It also explains when using a professional 3D printing service is a more effective approach for achieving fast 3d prints with high quality. Here’s what this guide covers: ● Settin......