3D Printed Action Figures: From Model to Articulated Toy
13 min
- What Counts as an Action Figure (and Why 3D Printing Suits Them)
- Getting a Model: Design, Download, or Scan
- Designing Articulation: Joints That Actually Work
- Printing: Process, Materials and Machine
- Assembly, Finishing and Paint
- From File to Figure
- FAQ about 3D Printed Action Figures
Key Takeaways
- 3D printed action figures work because the figure can be one project: sculpted model, printed joints, and hand paint on the same canvas, at a fraction of a single custom-made figure's price.
- Articulation is designed, not printed by accident: ball joints carry shoulders and hips, hinges run elbows and knees, pinned assemblies take load, and print-in-place hinges trade strength for zero assembly.
- Joint clearances are tuned by test prints, not formulas — start around 0.3–0.5mm of clearance, print a small joint test, and adjust before committing a full figure.
- FDM suits larger scales and working joints; resin wins fine detail at small scales but needs thicker joint pins to survive play.
- A figure of yourself is a scanner-and-modeling project as much as a printing one, and it is the standard case for sending the print out: upload the finished model rather than buying hardware for one part.
A 3D printed action figure is the hobby's full-circle project. Sculpting, mechanism, and paint, three crafts that usually live in separate workshops, meet on a canvas about fifteen centimeters tall. 3D printed action figures also happen to be one of the most searched printing projects in the figure and toy space, for a plain reason: a custom figure is either expensive or impossible to buy, and a printer turns "does not exist" into "needs a weekend." This page walks the whole path, from where the model comes from to how the joints get designed, what to print it in, and how the paint goes on. If you want the wider toy world rather than the figure specifically, our 3D printed toys guide covers that ground; here it is one articulated body at a time.
What Counts as an Action Figure (and Why 3D Printing Suits Them)
An action figure, as collectors use the word, is a character figure with articulated joints — points at the shoulders, elbows, hips, knees, sometimes a head or torso — usually built at collectible scales like 1:12 or 1:6. That articulation is the line between an action figure and a static figurine: a figurine is sculpted to one pose and frozen there, while an articulated action figure is built to be re-posed. (Static desk figures and the miniature scale used for tabletop gaming are their own crafts, covered elsewhere on this blog.)
3D printed figures suit this format unusually well, for three reasons. First, customization: the figure you want often does not exist at retail, and anime-style figures, original characters, and personal likenesses are among the most printed categories precisely because no factory will mold them. Second, single-piece economics: a one-off figure has no tooling cost to amortize, so the price of trying is a spool, not a production run. Third, and least appreciated: the joints themselves are printable. The mechanism that makes the figure posable can come out of the same nozzle as the body, which changes what a hobbyist can attempt.
Getting a Model: Design, Download, or Scan
Every figure starts as a 3D model, and there are three honest ways to get one.
Model it. Two tool families cover the craft. Parametric CAD builds the figure from measured features and is unforgiving for organic shapes; digital sculpting, which pushes and pulls a digital lump of clay the way hands work real clay, is how character figures actually get made. Sculpting has its own learning curve measured in months, so most first figures start elsewhere. Whatever the route, the design rules that keep prints alive (wall thickness, overhangs, tolerances) are the same ones in our design-for-additive-manufacturing guide, and they matter double here, because a figure is many small parts wearing each other out.
Download it. Model repositories hold thousands of printable figures, from original sculpts to licensed designs, and they are the fastest route to a first print. Two checks before you hit print: the license (personal-use files do not authorize selling copies) and the model's print history — a figure page with successful maker photos has already survived the beta-testing you would otherwise do yourself.
Scan it. The third source is a real subject. A phone-based photogrammetry session around a person or an existing object produces a mesh that, after cleanup and hollowing, becomes a one-of-a-kind likeness — the "figure of yourself" project that fills a surprising share of search volume. The capture workflow is its own topic, covered step by step in our photo-to-3D-model guide. A scanned mesh needs more repair than a designed model, and it comes out solid: hollow it before printing or the figure weighs as much as its shelf.
Designing Articulation: Joints That Actually Work
Articulation is where figures stop being figurines, and it is designed, not hoped for. Four joint families cover the craft:
| Joint type | Where it goes | Character |
|---|---|---|
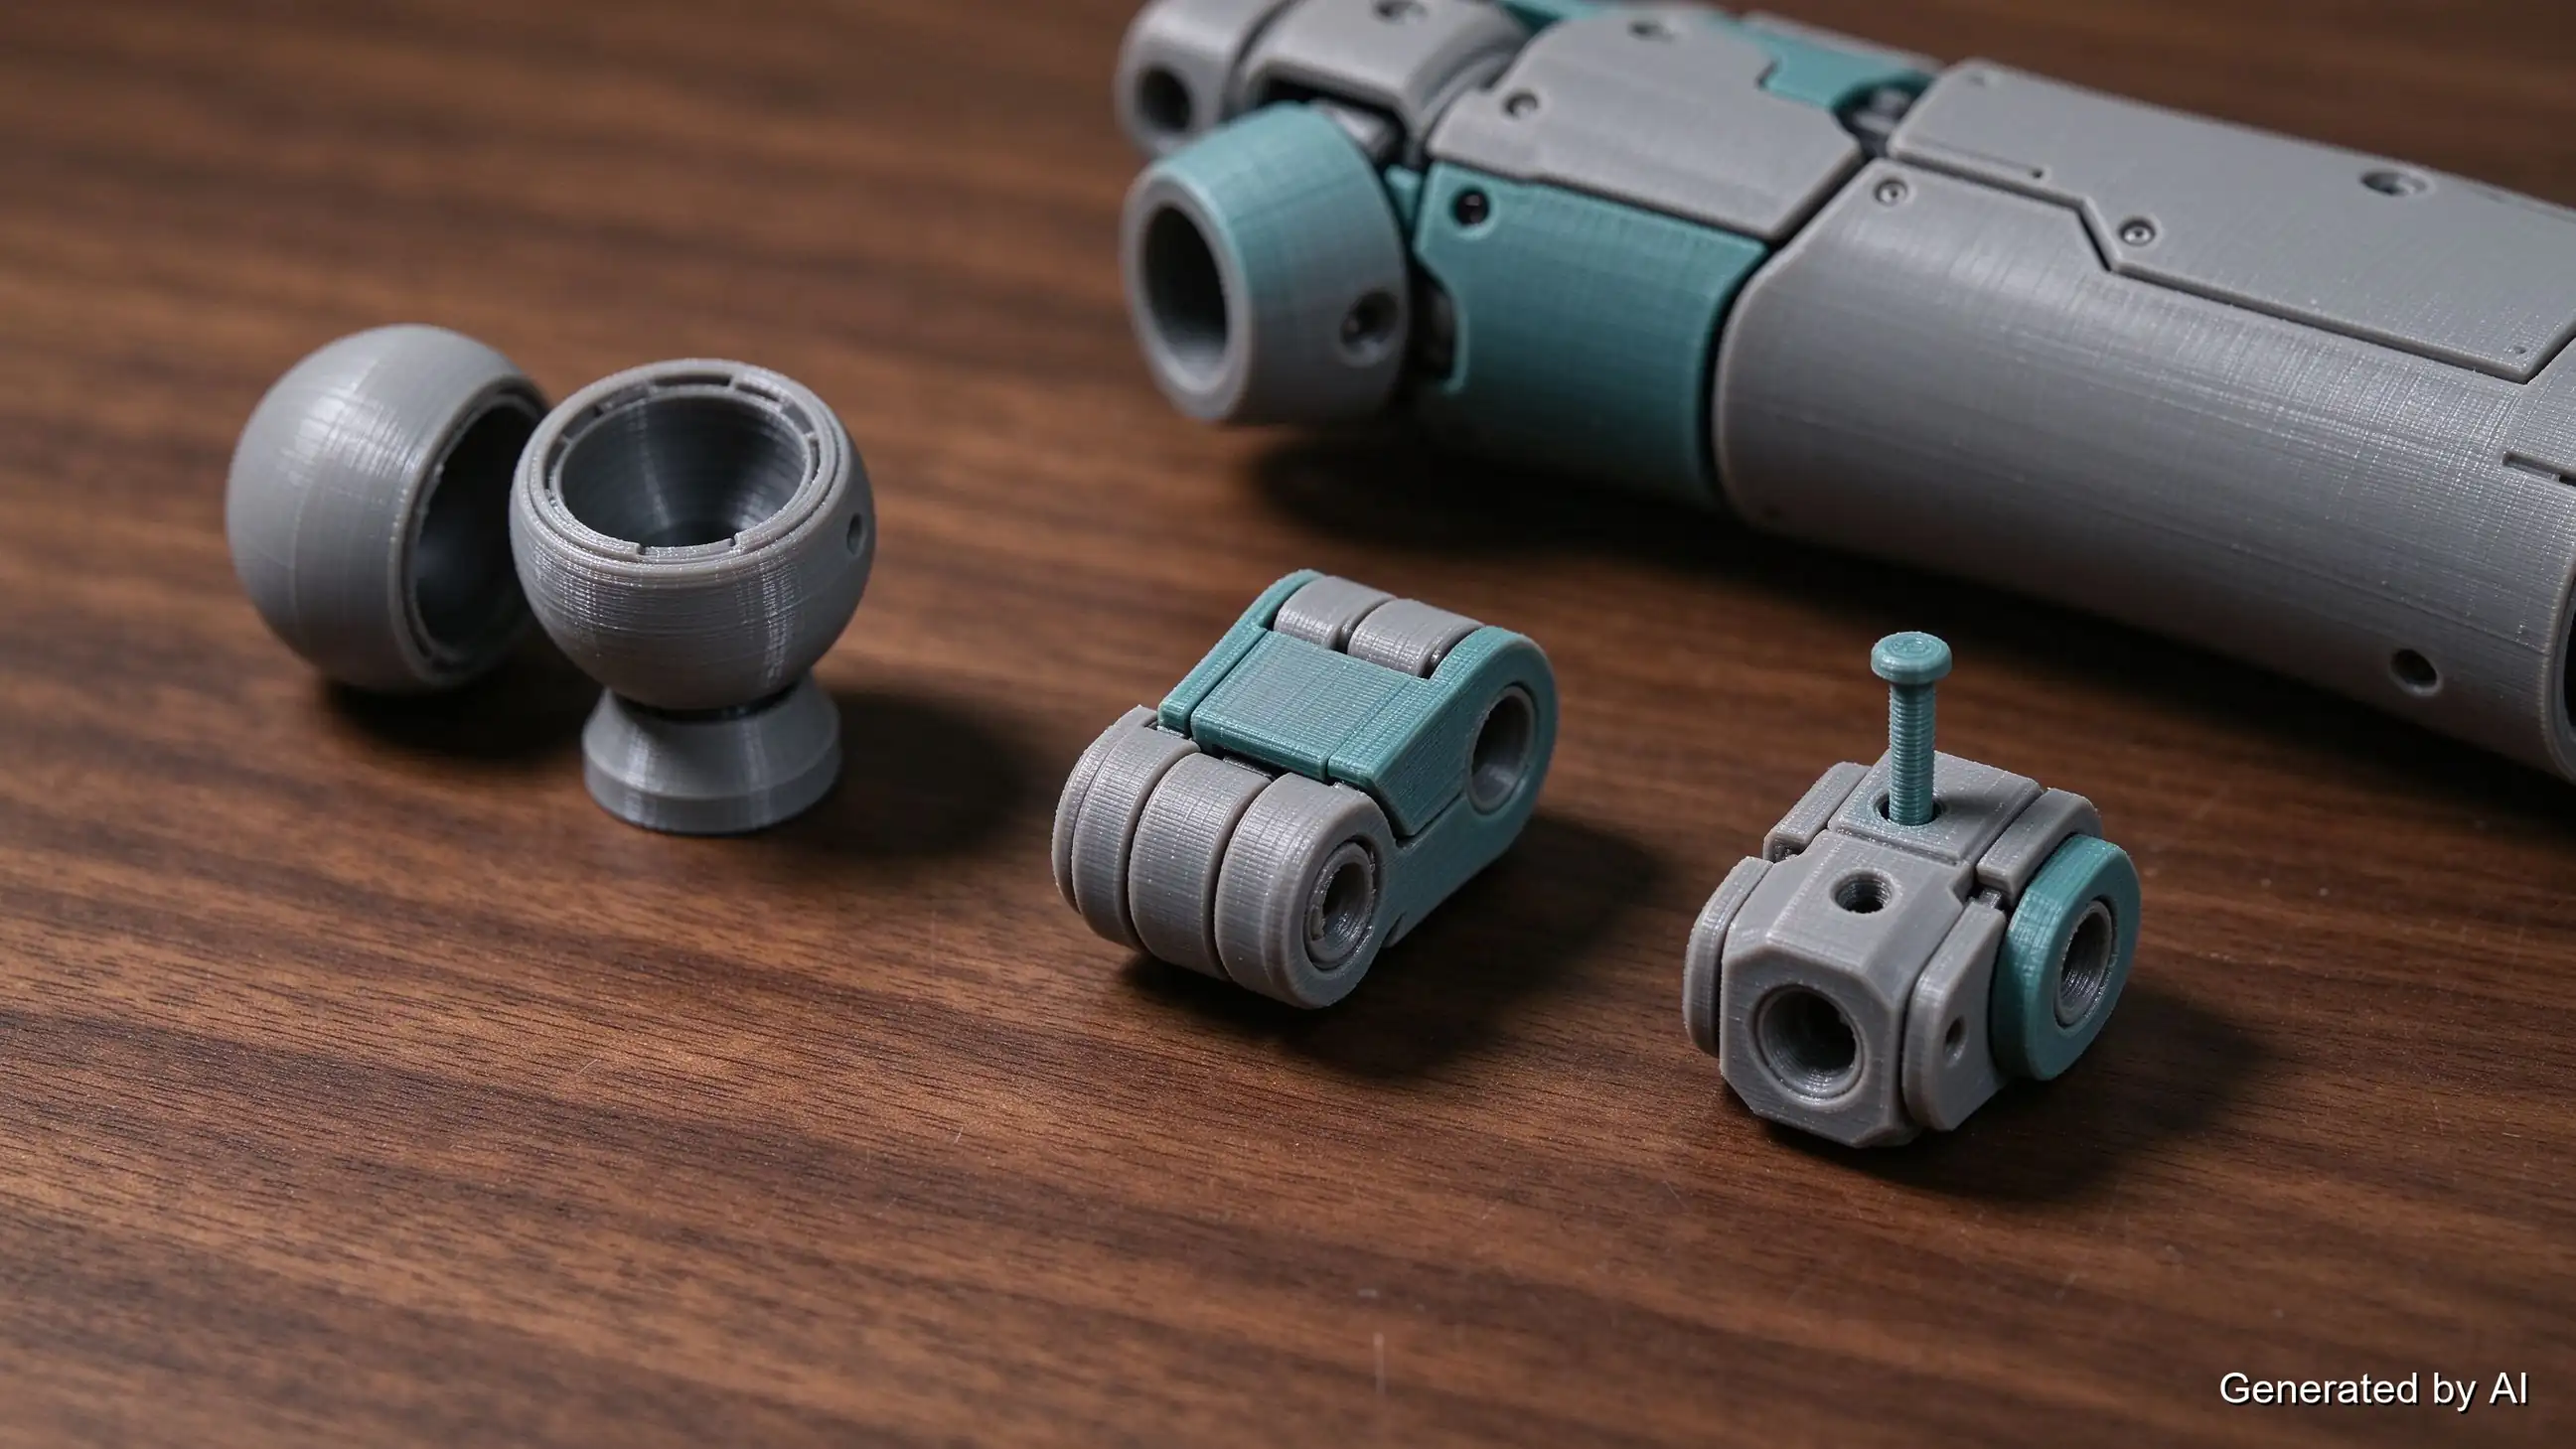
| Ball joint | Shoulders, hips, neck | Wide range of motion; prints as socket + ball on a stem |
| Hinge | Elbows, knees | One-axis bend; strong but limited |
| Pinned joint | Load-bearing limbs (separate parts + printed or metal pin) | The most durable; requires assembly |
| Print-in-place hinge | Integrated designs | Zero assembly; tolerances are unforgiving |
Ball joints print as a sphere on a stem mated to a hollow socket; the ball's diameter sets the range of motion, and the socket's opening needs a slit or a flexible rim so the ball can snap in past its own tightest point. Hinges are simpler — a knuckle and a barrel — and they earn their place at elbows and knees where one axis is all the pose needs. Pinned joints split the limb into separate printed parts joined by a printed or metal pin; they are the choice for figures that will actually be handled, because wear lands on a replaceable pin instead of a sculpted socket. Print-in-place designs print the whole mechanism in one pass, hinges and all, and they are the most elegant and the least forgiving: the joint works because the printer left it exactly the right amount of not-touching.
That last sentence is the whole discipline. Joint clearances are found by test prints, not formulas — print a small ball-and-socket coupon starting around 0.3–0.5mm of clearance, work the joint until it moves, and adjust from evidence. A clearance that rotates smoothly warm will loosen as the figure cools, and a socket printed a tenth too tight is a socket you will snap while posing it. Budget the test coupons; they are cheaper than figures.
There is also a sister craft worth reading alongside: the same joint principles applied to printed animals, covered in our articulated animals design guide. The mechanics transfer; the figure's differences are proportion, scale, and the paint that comes later.
Printing: Process, Materials and Machine
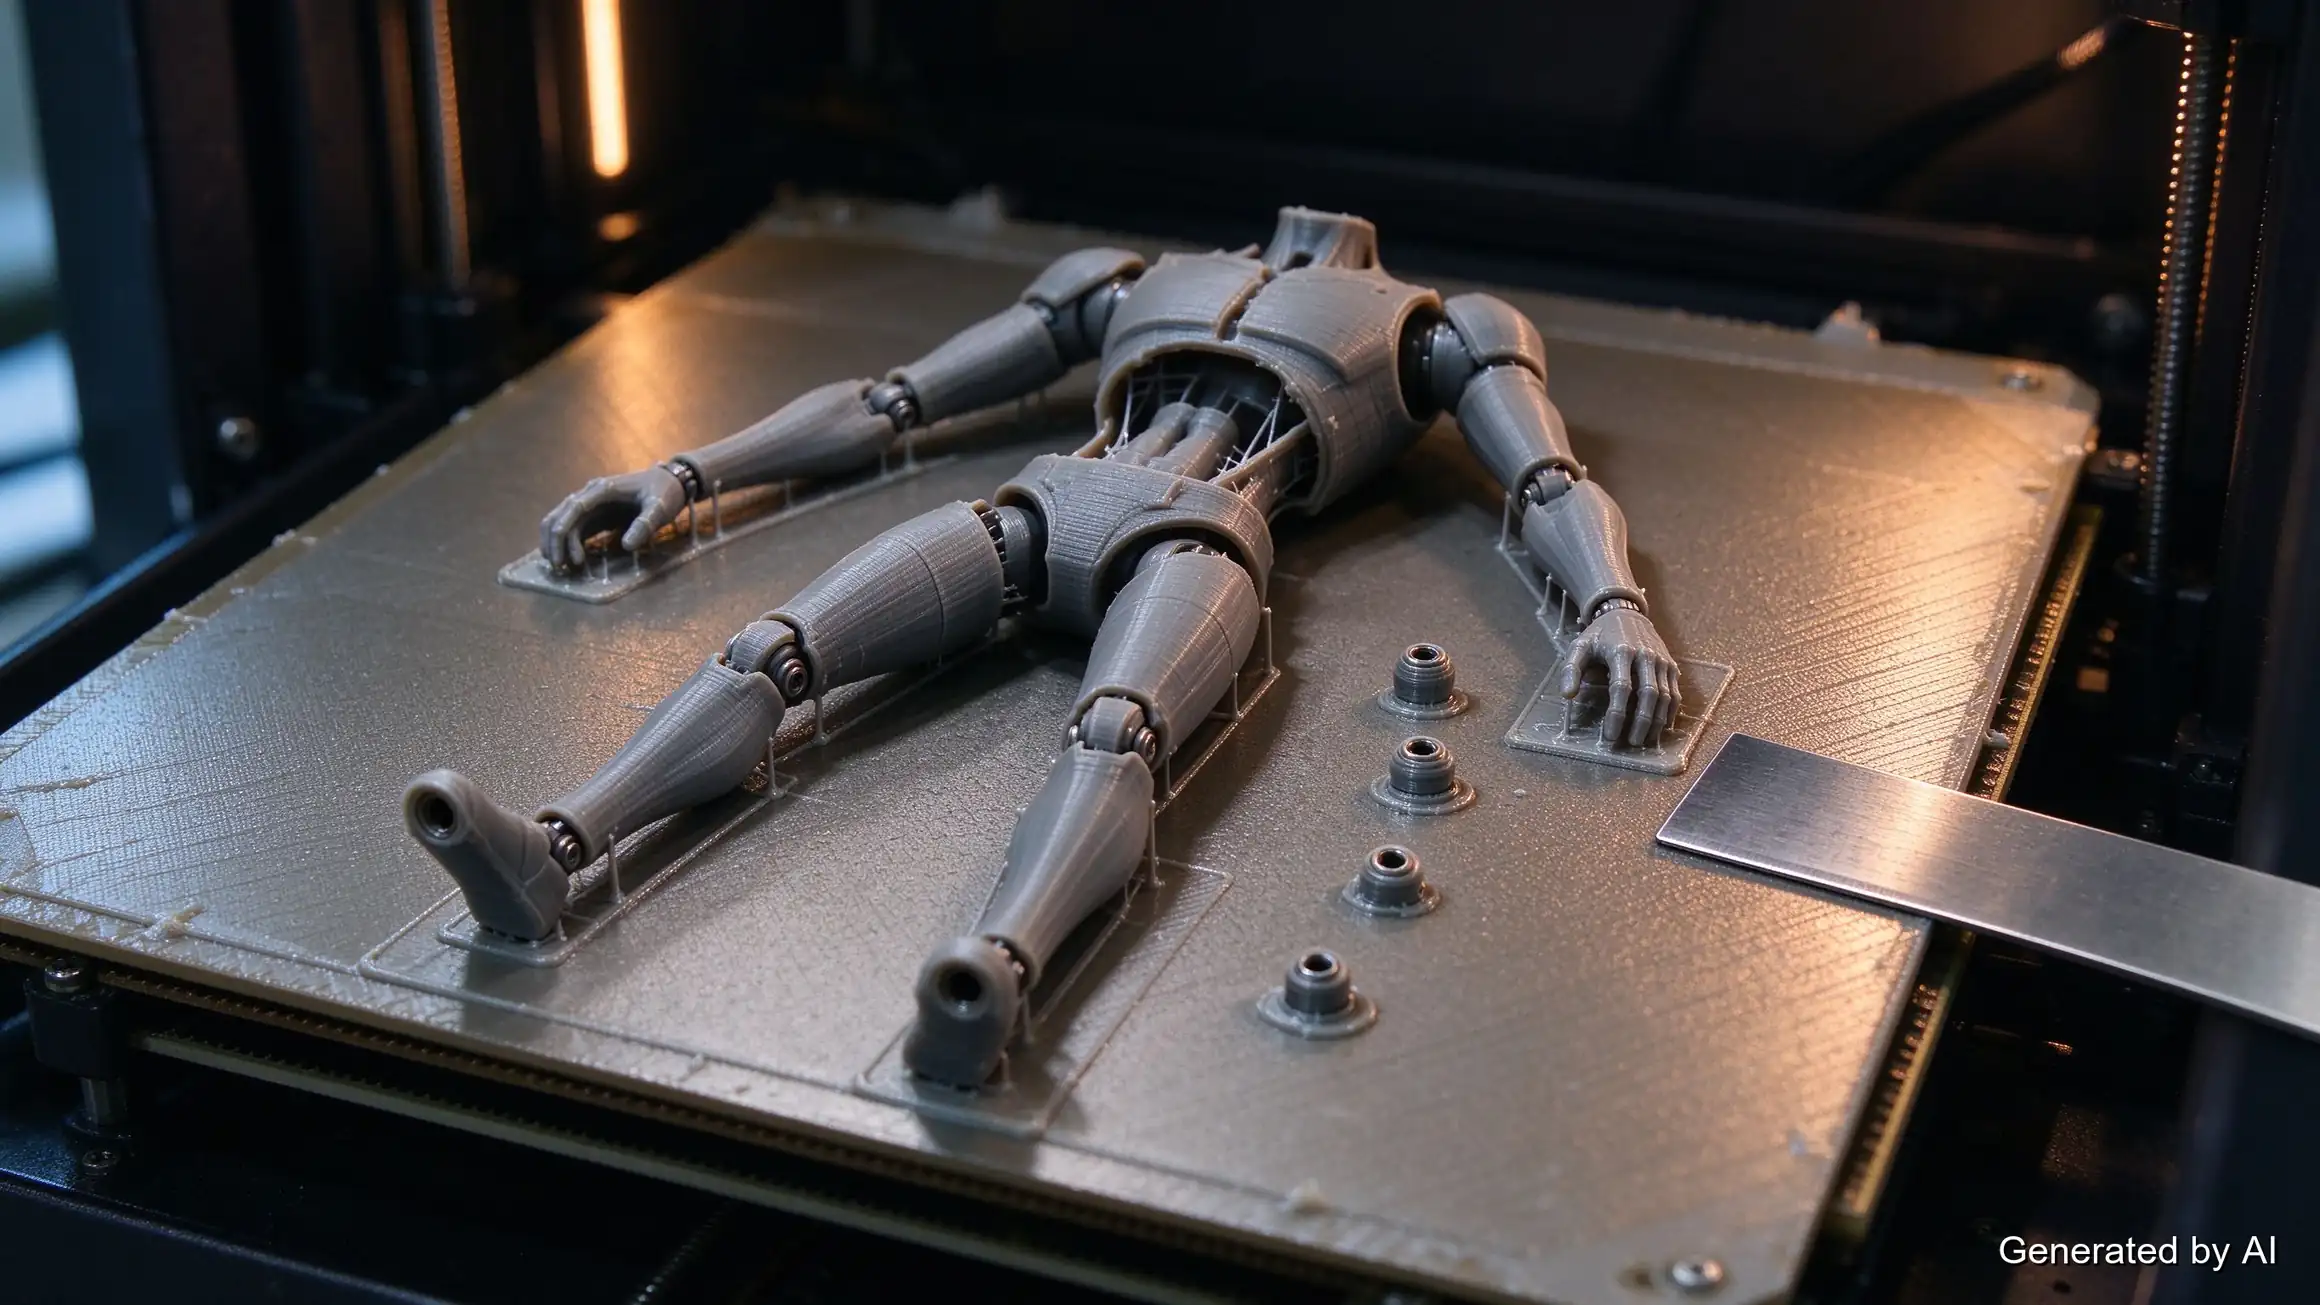
Scale decides most of the printing decisions, so decide it first. A 1:12 figure stands roughly 15cm tall, which puts individual parts (a forearm, a boot) in the range where layer lines start to matter. Practical outcomes follow:
Resolution versus speed. At figure scale, layer height is the difference between a smooth shin and a striped one; finer layers (well under 0.2mm) are the FDM answer, and smaller nozzle diameters sharpen small features at the cost of print time.
FDM versus resin. FDM takes the larger scales, the working joints, and the widest material menu; a pinned FDM limb survives play that would snap a resin equivalent. Resin (SLA-family) printers resolve detail FDM cannot reach at the same scale — faces, hands, armor relief — which is why small-scale, display-oriented figures are so often resin prints. The resin joint is the compromise: cure resin is strong but brittle, so pinned resin joints use thicker pins and gentler poses.
Materials. PLA is the sensible default for a first figure: it prints clean, paints well, and holds detail. PETG buys toughness for figures that will be handled. ABS and ASA suit figures that will live on a sunny shelf or travel in a bag, provided you take on the printing discipline those materials demand. Resin choice is a finishing question as much as a strength one; standard resins paint beautifully and chip grudgingly.
Orientation and supports. FDM is weakest between its layers and strongest within them, so the layer lines have to run along the load rather than across it. For a limb or a pin that carries force along its length, that means laying it down: printed on its side, each layer travels the full length of the part and the load stays inside the layer instead of peeling it from the next one. Printed upright, a sideways push snaps the piece at a layer line. Joint sockets are the awkward case: supports inside a socket are correct for shape and miserable for function, since leftover support fragments turn a smooth rotation into a grind. Designs that keep socket interiors support-free print figures that pose better.
One route sits outside this whole comparison: full-color service-tier figures are printed with WJP material jetting, which puts color into the part in a single pass — something no desktop filament setup does.
One purchase question belongs here, because searches ask it directly: what 3d printer for action figures is the right class? The honest answer is scale-dependent — figure builders at 1:12 lean toward fine-resolution machines (resin family for display sculpts, fine-layer FDM for playable ones), while larger 1:6 work sits comfortably in normal FDM territory. Judge by layer resolution, build volume, and enclosed-chamber availability for the material you choose, rather than by any figure-specific feature; there is no such thing as an action-figure printer, only printers that suit the scale you picked.
Assembly, Finishing and Paint
A multi-part figure is a small assembly line: trim the seam lines and support nubs, dry-fit every joint before anything is permanent, and remember that joints prefer not to be glued — a pinned shoulder that rotates is the point. Adhesive belongs at fixed seams (torso halves, non-moving armor) and at printed pins you want permanent.
Finishing has one figure-specific rule: do not sand what needs to move. Joint surfaces, ball stems, and socket interiors stay as printed (or get the lightest touch-up), while visible armor and faces take normal sanding progression. Primer comes next, and on a figure it does double duty — it evens the surface for paint and it reveals layer lines and print flaws while they are still cheap to fix.
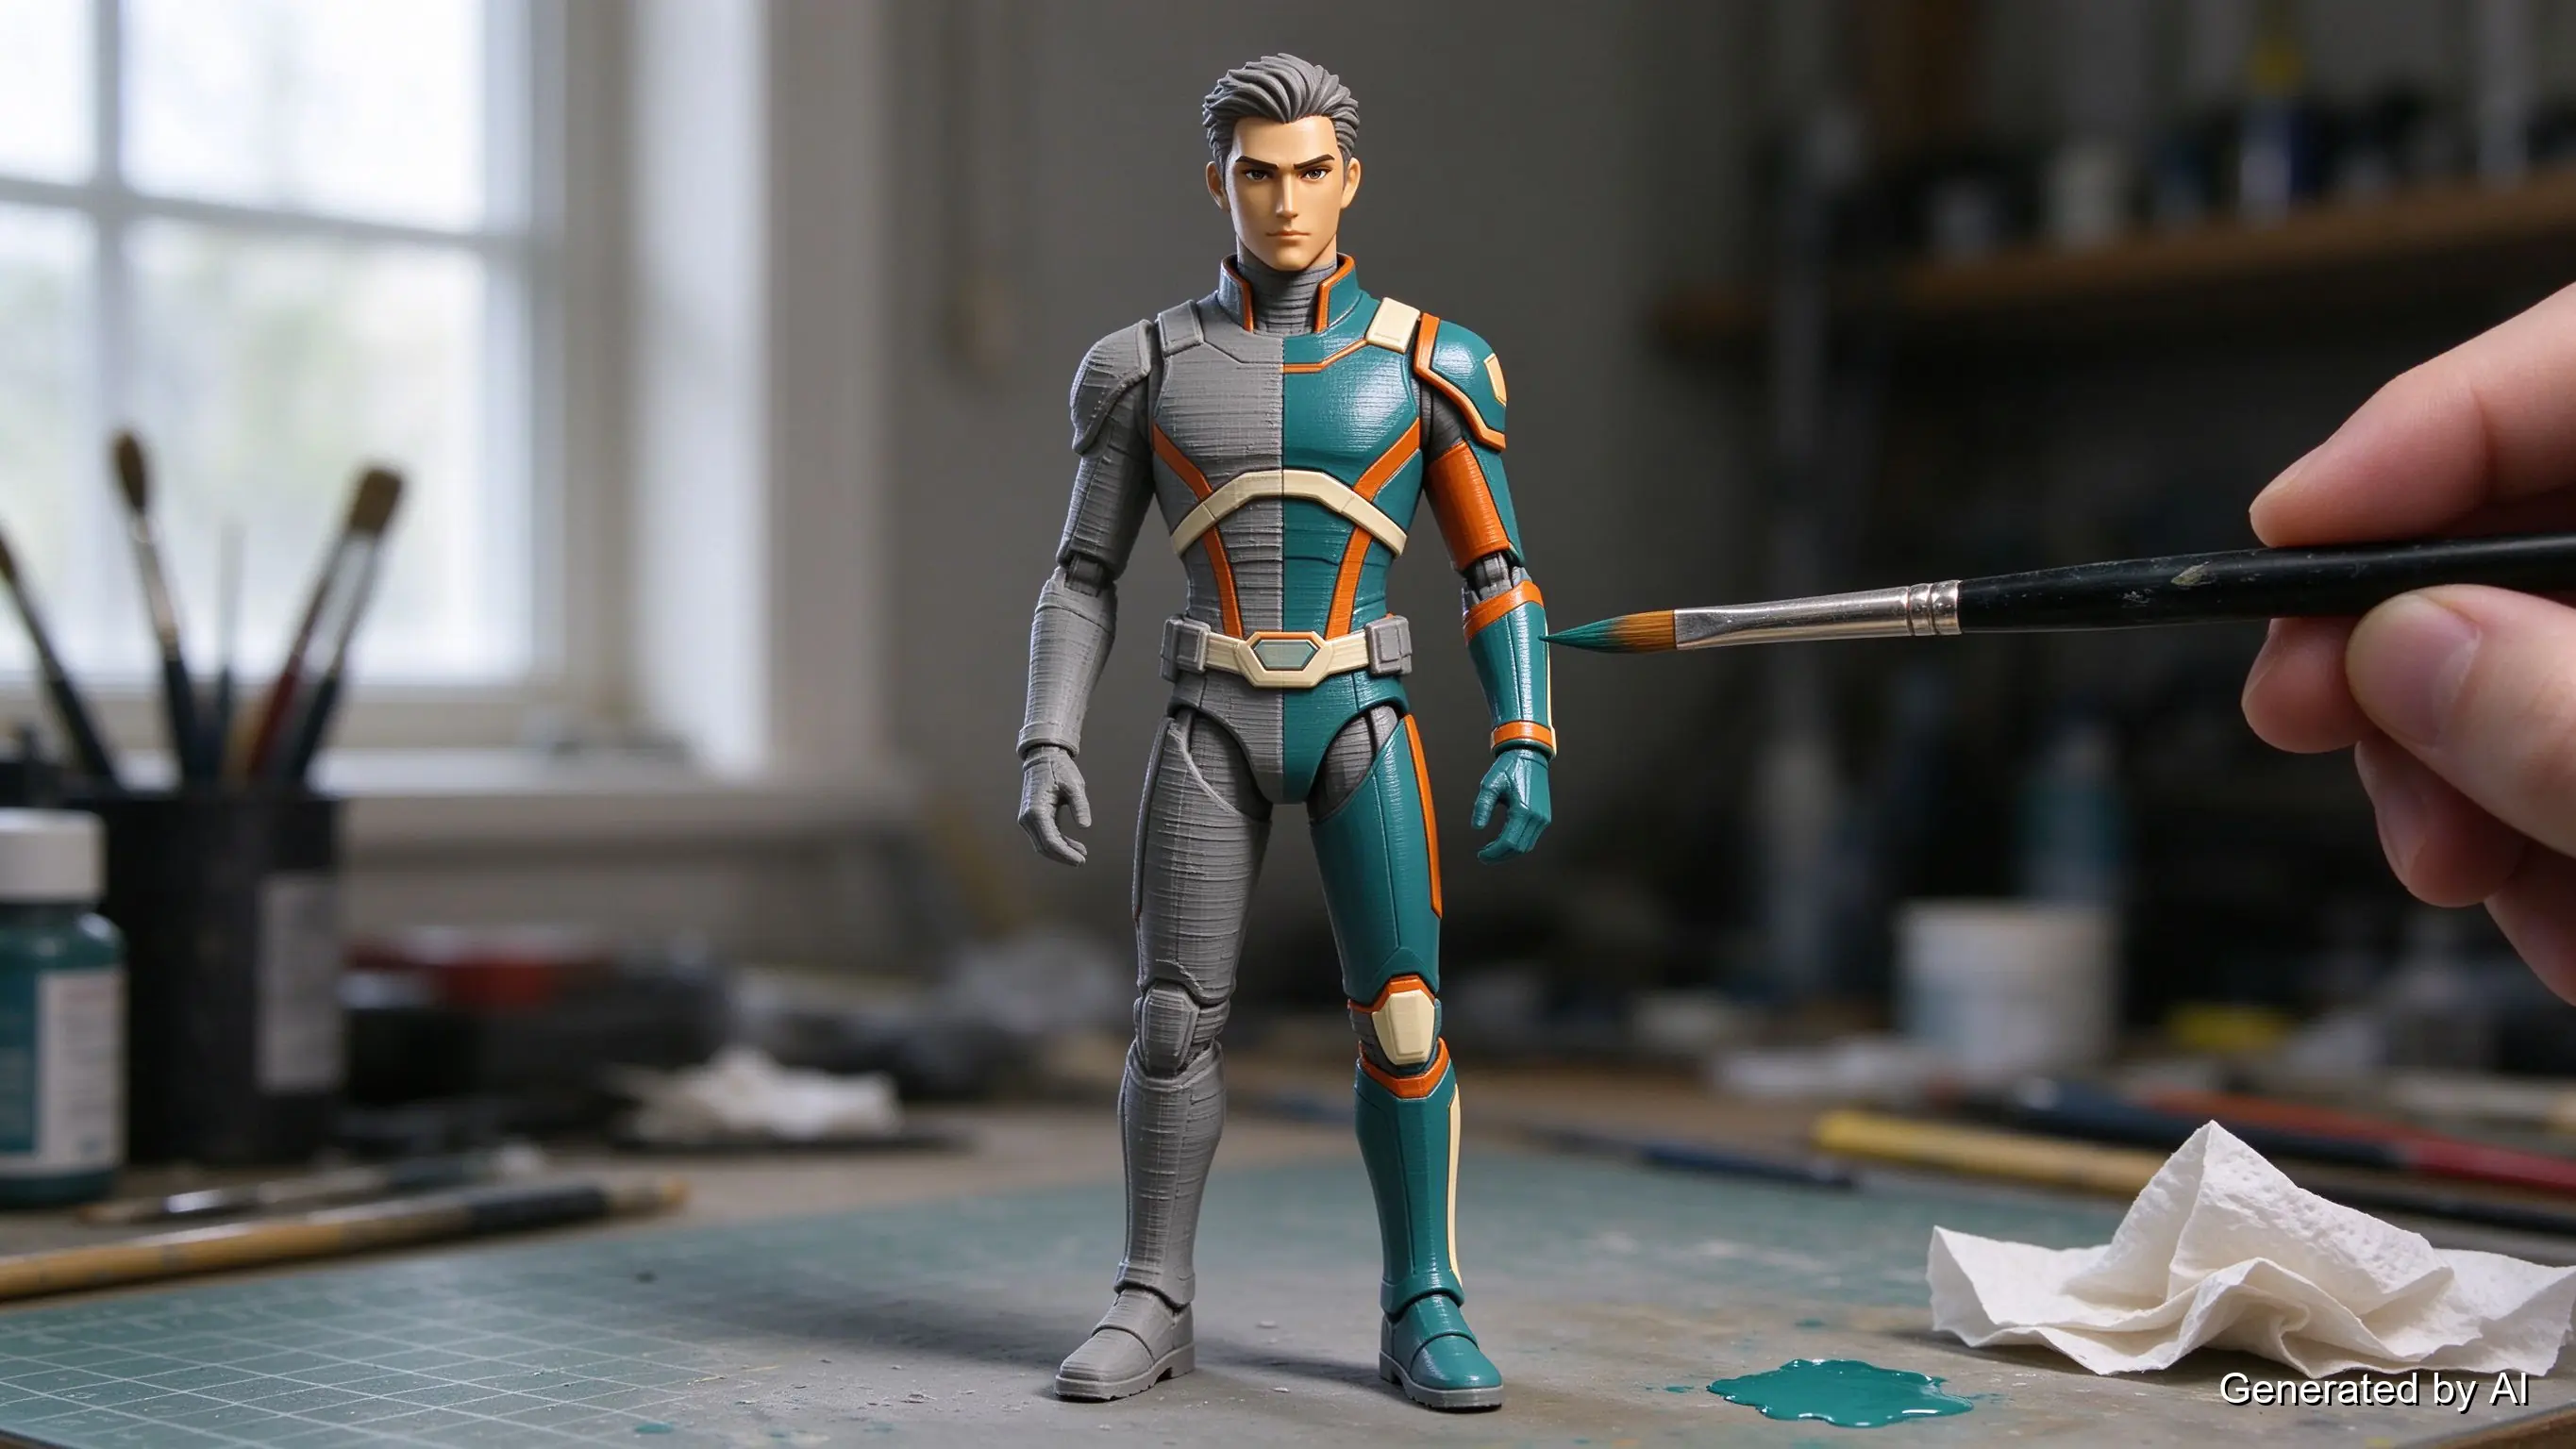
Painting a figure is a scale-model painter's workflow in miniature: thin coats, colors worked from dark to light, and details last. The full process — primer choice, brush versus spray, sealing — is its own craft with its own guide (our figure priming and paint prep walkthrough covers the start of it), so here is only the figure-specific warning: paint adds thickness, and thickness on a joint surface is the clearance you tuned so carefully being spent. Paint the part, protect the joint.
From File to Figure
The path holds together at any budget: a model from a sculpt, a repository, or a scanner; joints chosen to match how the figure will be handled; materials matched to scale; paint applied where it will not rub away. Start with a downloadable model and pinned joints before attempting a fully sculpted, print-in-place original — the skills stack in exactly that order. And when the figure matters more than the machine (a one-off likeness, a batch for a team, or a resin-quality finish you do not print at home), JLC3DP prints custom figures via FDM and resin with an engineer reviewing every upload; send your model for an instant quote and keep the weekend for the painting.
FAQ about 3D Printed Action Figures
Q: Can you 3D print action figures?
Yes, and it is one of the most popular figure projects in the hobby: a model is sculpted, downloaded, or scanned, printed in parts with joint mechanisms, assembled, and painted. The articulation is designed into the model rather than added afterwards.
Q: What 3D printer is best for action figures?
It depends on scale. Larger figures (1:6 and up) print well on standard FDM machines; 1:12 display sculpts with fine facial detail lean toward resin printers for resolution, with the trade-off that resin joints need thicker pins. Judge machines by layer resolution, build volume, and chamber enclosure for your material — not by figure-specific features.
Q: How do articulated 3D printed figures work?
Through designed joints: ball joints at shoulders and hips for range of motion, hinges at elbows and knees, pinned assemblies for load-bearing limbs, and print-in-place hinges for zero-assembly designs. Clearances are tuned with small test prints, starting around 0.3–0.5mm and adjusting from how the joint moves.
Q: What material should I use for a 3D printed figure?
PLA is the default: it prints cleanly, paints well, and holds detail. PETG adds toughness for handled figures; ABS and ASA suit figures that face sun or travel; resin gives the best small-scale detail but brittle joints unless the pins are upsized.
Q: How do you paint 3D printed figures?
Sand the visible surfaces (never the joint interfaces), prime to even the surface and reveal flaws, then paint in thin coats from dark to light, and seal with a matte or gloss varnish. Keep paint off joint surfaces — added thickness there is the clearance you tuned being spent.
Q: Can I 3D print a figure of myself?
Yes — it is a scan-and-model project: photogrammetry captures you from multiple angles, the mesh gets cleaned and posed, and the figure prints like any other. If modeling is not your craft, a print service with an engineer review can take the model the rest of the way; JLC3DP accepts uploaded custom figures via FDM and resin.
Popular Articles
Keep Learning
3D Printed Action Figures: From Model to Articulated Toy
Key Takeaways 3D printed action figures work because the figure can be one project: sculpted model, printed joints, and hand paint on the same canvas, at a fraction of a single custom-made figure's price. Articulation is designed, not printed by accident: ball joints carry shoulders and hips, hinges run elbows and knees, pinned assemblies take load, and print-in-place hinges trade strength for zero assembly. Joint clearances are tuned by test prints, not formulas — start around 0.3–0.5mm of clearance,......
Beyblade 3D Model: Top Free Downloads & Pro Design Tips 2026
Back in the early days, bladers were just swapping parts and testing combos. Fast forward to 2026, things look a whole lot different. Now, the most competitive players aren’t just battling, they’re engineering. (source: Reddit) Sure, grabbing a Beyblade 3D model free download is the easy entry point. But if you really want an edge, it’s about going beyond surface-level files and building models that have performance baked in. That means precision design, tested materials, and a little pro-level know-h......
3D Print Beyblade Burst: Pro Guide to Competition-Ready Parts
There’s a special kind of thrill when you watch a Bey you designed yourself slam into the arena and actually hold its own. It’s part pride, part tinkering obsession, part “wow, that actually worked.” Back in the early days, most people just grabbed a Beyblade Burst 3D model free download, hit print, and called it good. Now the scene looks completely different. Makers are pushing out full 3D printed Beyblade Burst GT, DB (Dynamite Battle), and even Sparking builds, each with their own balance tricks, w......
Beyblade X 3D Print: Optimize Launcher Grips & Parts
Table of Contents Beyblade X 3D Print: Engineering Better Components for Casual Play and Custom Leagues Beyblade X Launcher Grip 3D Print: Performance Engineering Beyblade X Bit 3D Print: Precision Customization Beyblade X Stadium 3D Print: Advanced Arena Design Professional 3D Printed Beyblade X Ecosystem Engineering-Grade Printing Protocols Performance Validation Methods FAQs about Beyblade X 3D Print Beyblade X 3D Print: Engineering Better Components for Casual Play and Custom Leagues Beyblade X ha......
3D Printed Beyblade: Create, Print & Battle Your Own Tops
What is a 3D Printed Beyblade? A 3D printed Beyblade, a custom-made gyroscope crafted using 3D printing technology. Unlike official Beyblades, these DIY products allow for unique designs and modifications. (source: Istock) They offer creative freedom but lack legitimacy in terms of competition. Users experiment with different shapes and materials to enhance performance or achieve personalization. Why Use a 3D Printer for Beyblades? Many players opt for 3D-printed spinning top versions due to their aff......
26 Spooky & Fun 3D Printed Halloween Decorations for 2026
Halloween’s coming up, which means it’s time to break out the printer and make something way cooler than store-bought plastic pumpkins. 3D printing opens up a whole different level of fun, you can make creepy little ghosts for your shelves, haunted door signs, or a skull bowl that’s somehow both disturbing and classy. (Image generated by AI integration) The best thing about 3D printed Halloween decorations is that you get to control the weirdness. You can go cute, creepy, or absolutely cursed, dependi......