Image to STL: Convert Images to STL Online for Free
16 min
- How to Convert an Image to STL
- Best Free Image to STL Converters
- 3 Ways to Convert an Image to STL
- What Kind of Image Works Best?
- Image to STL vs AI Image to 3D
- Check the STL Before You Slice It
- FAQ about Image to STL Converter
- From Image to Object
Key Takeaways
- You can convert an image to STL — the right method depends on what the image shows: a photo becomes a lithophane relief, a logo becomes an extruded shape, or an object photo becomes an AI-generated mesh.
- Free online converters handle all three methods in a browser, no software install required — pick one based on your image type, not on a tool's marketing.
- Lithophanes encode photo brightness as thickness; the result prints in translucent filament and reveals the image under backlight. Source photo quality matters more than any converter setting.
- Logos and silhouettes extrude into stamps, cookie cutters, keychains, and signs — the simplest and most reliable conversion of the three.
- AI image-to-3D turns a single photo of an object into a full 3D mesh in minutes, but the output needs cleanup: reduce triangle count and repair holes before slicing.
- Every converter exports geometry without units — check the model's real dimensions in a viewer before trusting what the tool spat out.
You have a picture, and you want a printed object. Yes — a JPG, PNG, or SVG can become an STL file, and free online tools handle most of the work without installing software. The question that actually matters is which conversion method fits your image, because three different jobs hide behind the same search:
| Your image | The method | What you get | First print difficulty |
|---|---|---|---|
| A photo — face, pet, scenery | Relief (lithophane) | A plate that reveals the photo under backlight | Low |
| A logo, icon, or silhouette | 2D extrusion | A solid shape with uniform thickness | Lowest |
| A photo of a physical object | AI generation | A full 3D mesh (needs cleanup) | Medium |
One line of background: an STL file stores a 3D surface as a mesh of triangles — shape only, no colors, no units. If that is news, our guide to what an STL file actually is covers the format; this page is about getting your image into one.
How to Convert an Image to STL
The workflow is the same regardless of image type — only the converter changes.
- Match your image to a method. A photo of a face or scene wants a lithophane relief. A logo, icon, or silhouette wants 2D extrusion. A photo of a physical object wants AI image-to-3D generation.
- Prepare the image. Use the highest resolution you have. For reliefs and AI, high contrast between subject and background gives the converter a clean edge. For logos, a vector source (SVG) beats a raster one (JPG/PNG).
- Upload to a converter. Pick one from the table below based on your method. Most run in a browser and accept JPG, PNG, or SVG.
- Set width, thickness, and resolution. These three controls exist on every converter. Width sets the physical size; thickness sets the relief depth or extrusion height; resolution controls how finely the tool samples your image.
- Preview and download the STL. Check the mesh in a viewer before slicing — verify units, look for holes, and confirm the triangle count is not in the millions.
Best Free Image to STL Converters
The table below covers tools that appear on the image to stl SERP and handle at least one of the three methods. Most are browser-based and free to try.
| Converter | Best for | Method | Input formats | Processing |
|---|---|---|---|---|
| ItsLitho | Lithophane reliefs from photos | Heightmap | JPG, PNG | Browser-based |
| Image-2-STL | General image-to-STL conversion | Heightmap, extrusion | JPG, PNG, SVG | Browser-based |
| Flip3D | Reliefs and lithophanes with size controls | Heightmap | JPG, PNG | Browser-based |
| Meshy | AI image-to-3D from object photos | AI generation | JPG, PNG | Browser-based |
| TechDraw AI | AI-assisted image-to-STL with tuning | AI generation | Various | Browser-based |
> ⚠ Tool names and features are based on SERP observations as of August 2026. Verify each tool is still operational and free before publishing — online converter pricing and availability change frequently.
The practical split: for lithophane reliefs, a dedicated tool like ItsLitho gives you the most control over thickness and form factor. For logo extrusion, most general image-to-STL converters have an extrude or contour mode that works in one step. For AI image-to-3D, the tools are newer and the output quality varies — check the license for what you are allowed to do with the generated model, particularly for commercial use.
3 Ways to Convert an Image to STL
Method 1 — Image to Relief / Lithophane
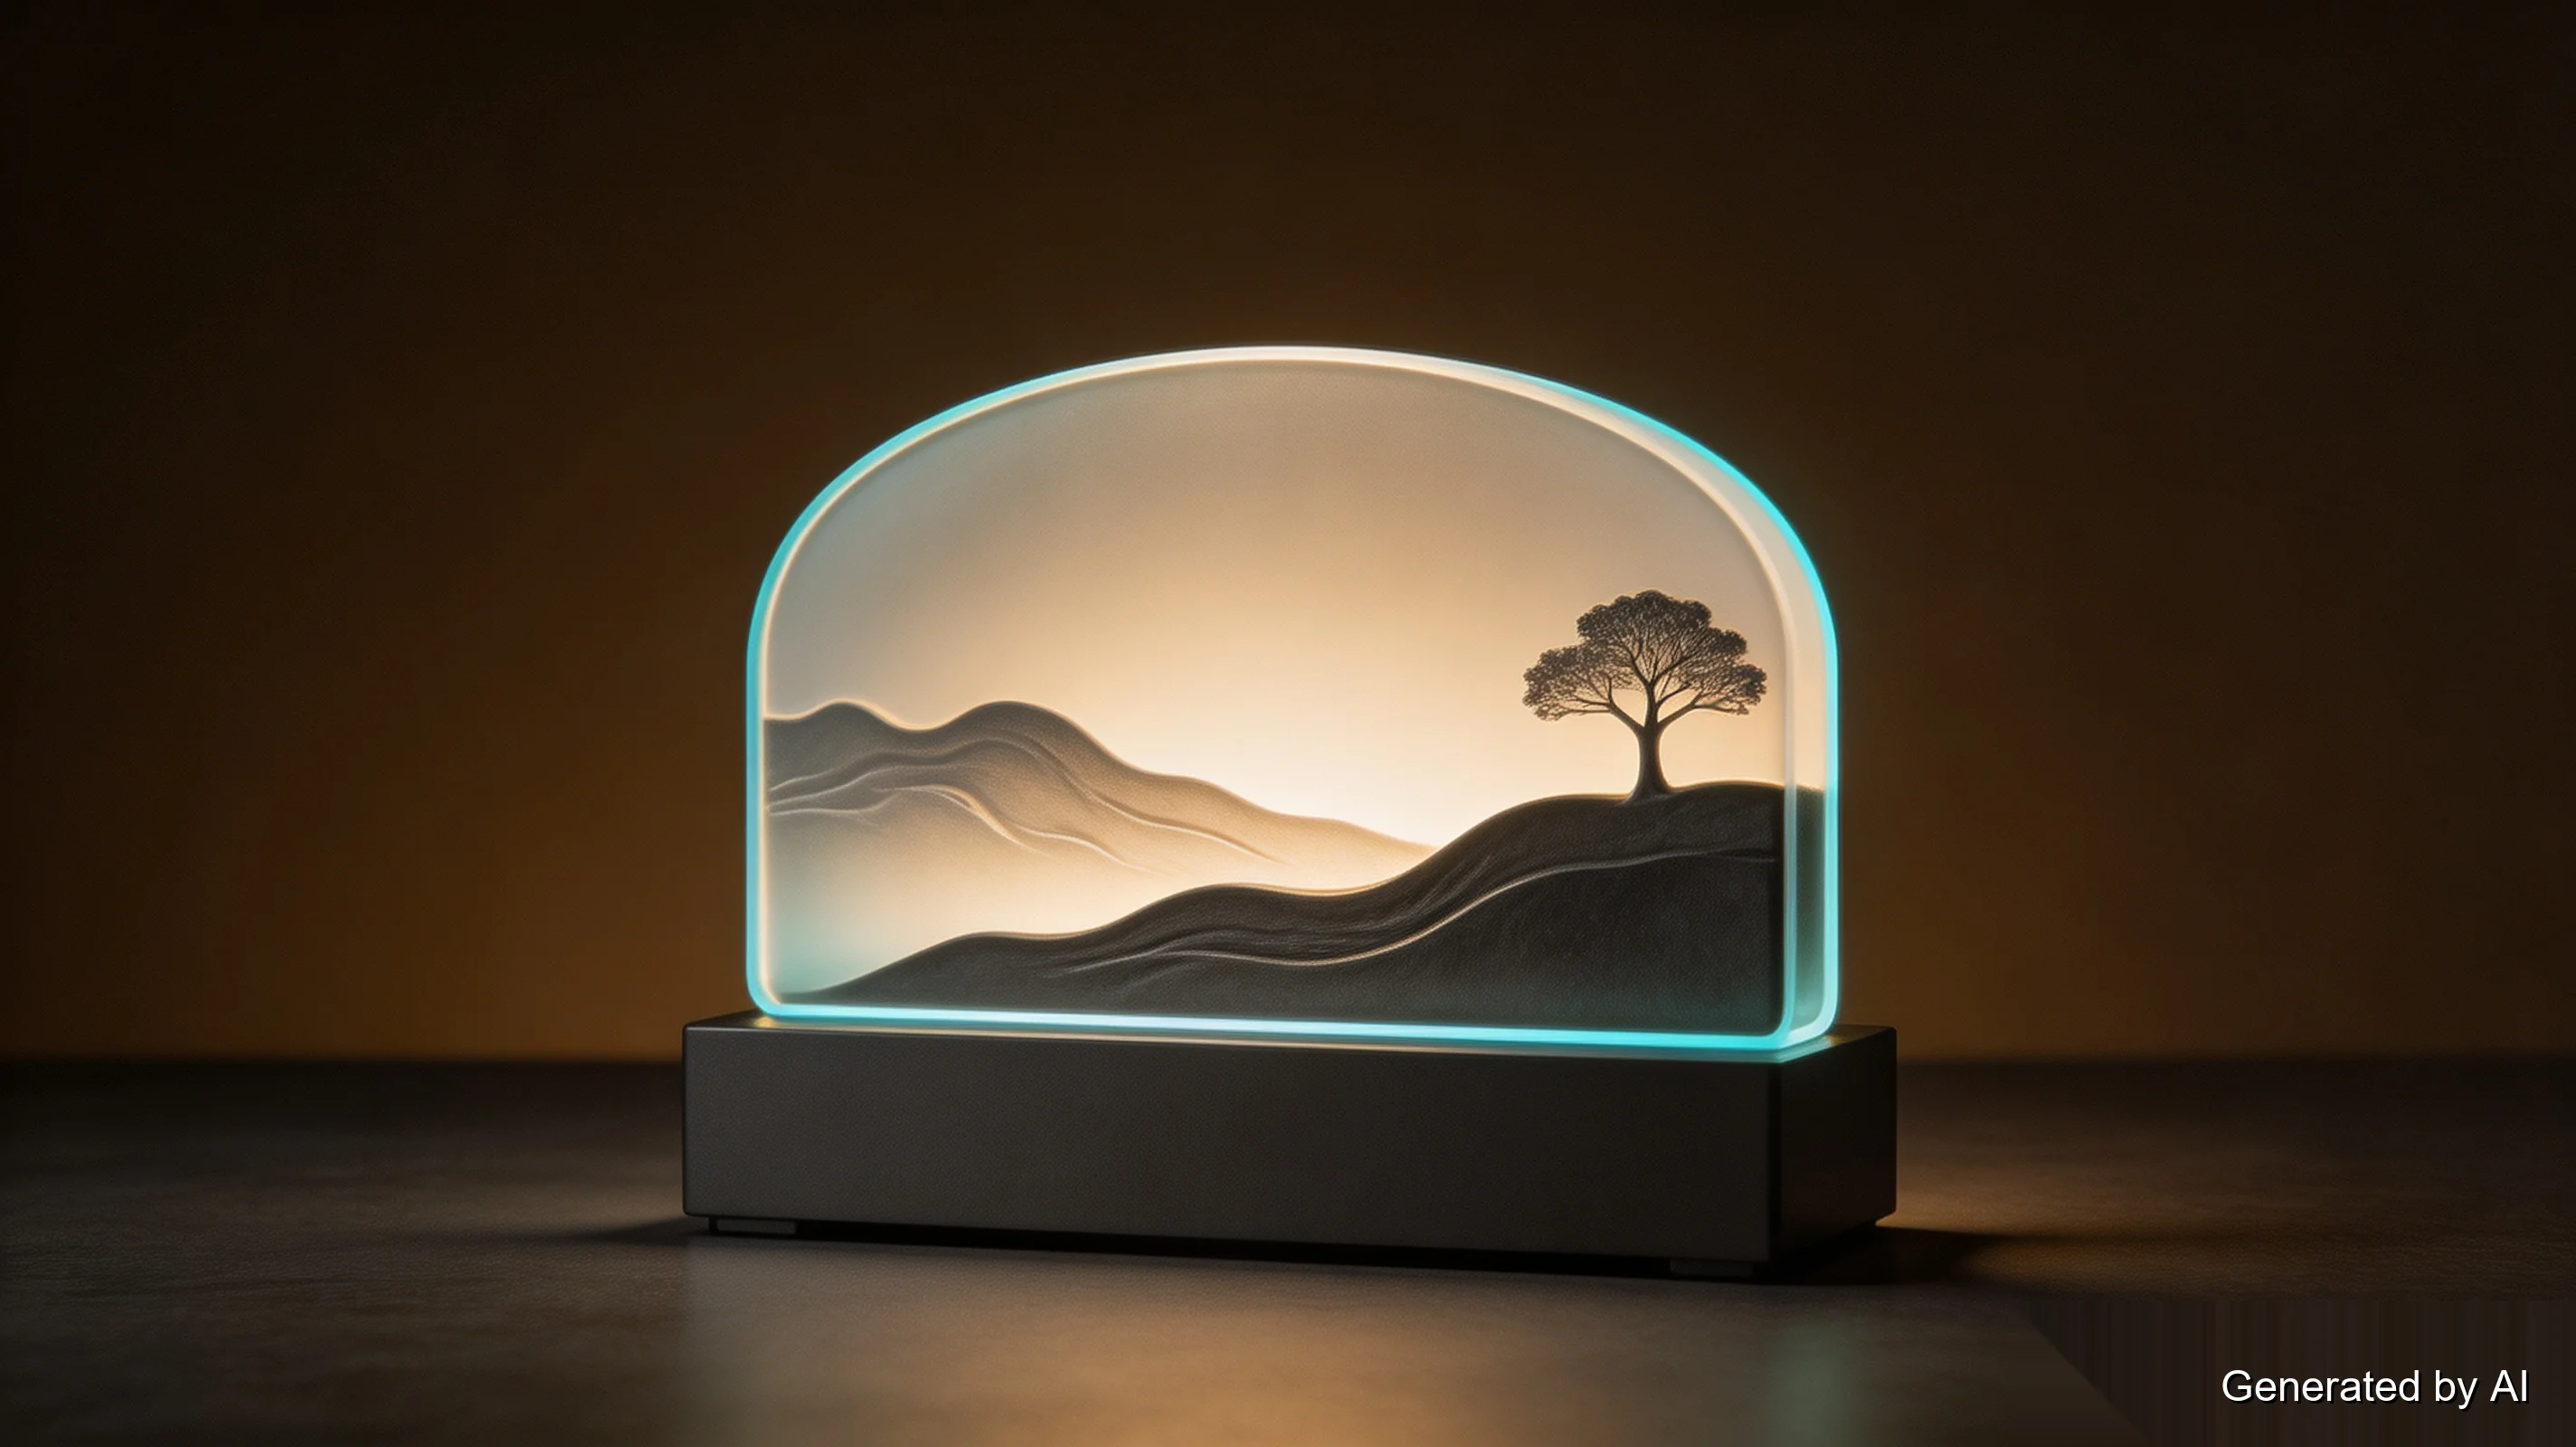
A lithophane is a relief plate whose thickness encodes the brightness of a photo: thin where the image is bright, thick where it is dark. Lying on the desk it looks like an anonymous embossed slab. Put a light behind it and the photo appears — often with detail that surprises people who watched it print.
This is *the* way to print a photograph, and it is the oldest trick in image-to-STL: the converter reads each pixel's brightness, maps it to a height between a minimum and maximum thickness, and extrudes the result into a solid plate. The photo never becomes a sculpture of its subject; it becomes a light-modulating surface, which is exactly what a backlit photo needs.
Choosing the photo. High contrast does the heavy lifting: a face lit evenly from the front, a subject clearly separated from its background. Dark backgrounds are quietly useful — they convert to thick, sturdy borders around the image. Avoid heavy shadows across the subject; whatever the camera saw is what the thickness will say. Resolution sets the detail ceiling, so export or screenshot at full size rather than sending a compressed thumbnail.
Converter settings. Free online lithophane generators (ItsLitho and similar) all expose the same few controls: width in millimeters, total thickness, base thickness, and a form factor — flat plate, curved lamp shade, box for a night light, cylinder. Most also offer a resolution or quality slider, which controls how finely the generator samples your image — more detail, smoother brightness gradients, and a slightly larger file; it is the one setting worth nudging upward for a photo you care about. For a first print, the defaults are genuinely sensible: total thickness lands around 2–3mm, and the base keeps the thinnest areas printable. Change the width to taste and leave the rest alone until you have printed one.
Recommended print settings. Print the plate vertically on its edge so light passes through consistently. Use translucent filament — natural or clear PLA is the common choice, PETG works too. Slow the print down, print solid (100% infill), and take the layer height down a notch for a smoother brightness gradient.
Method 2 — Image / Logo to Extruded STL
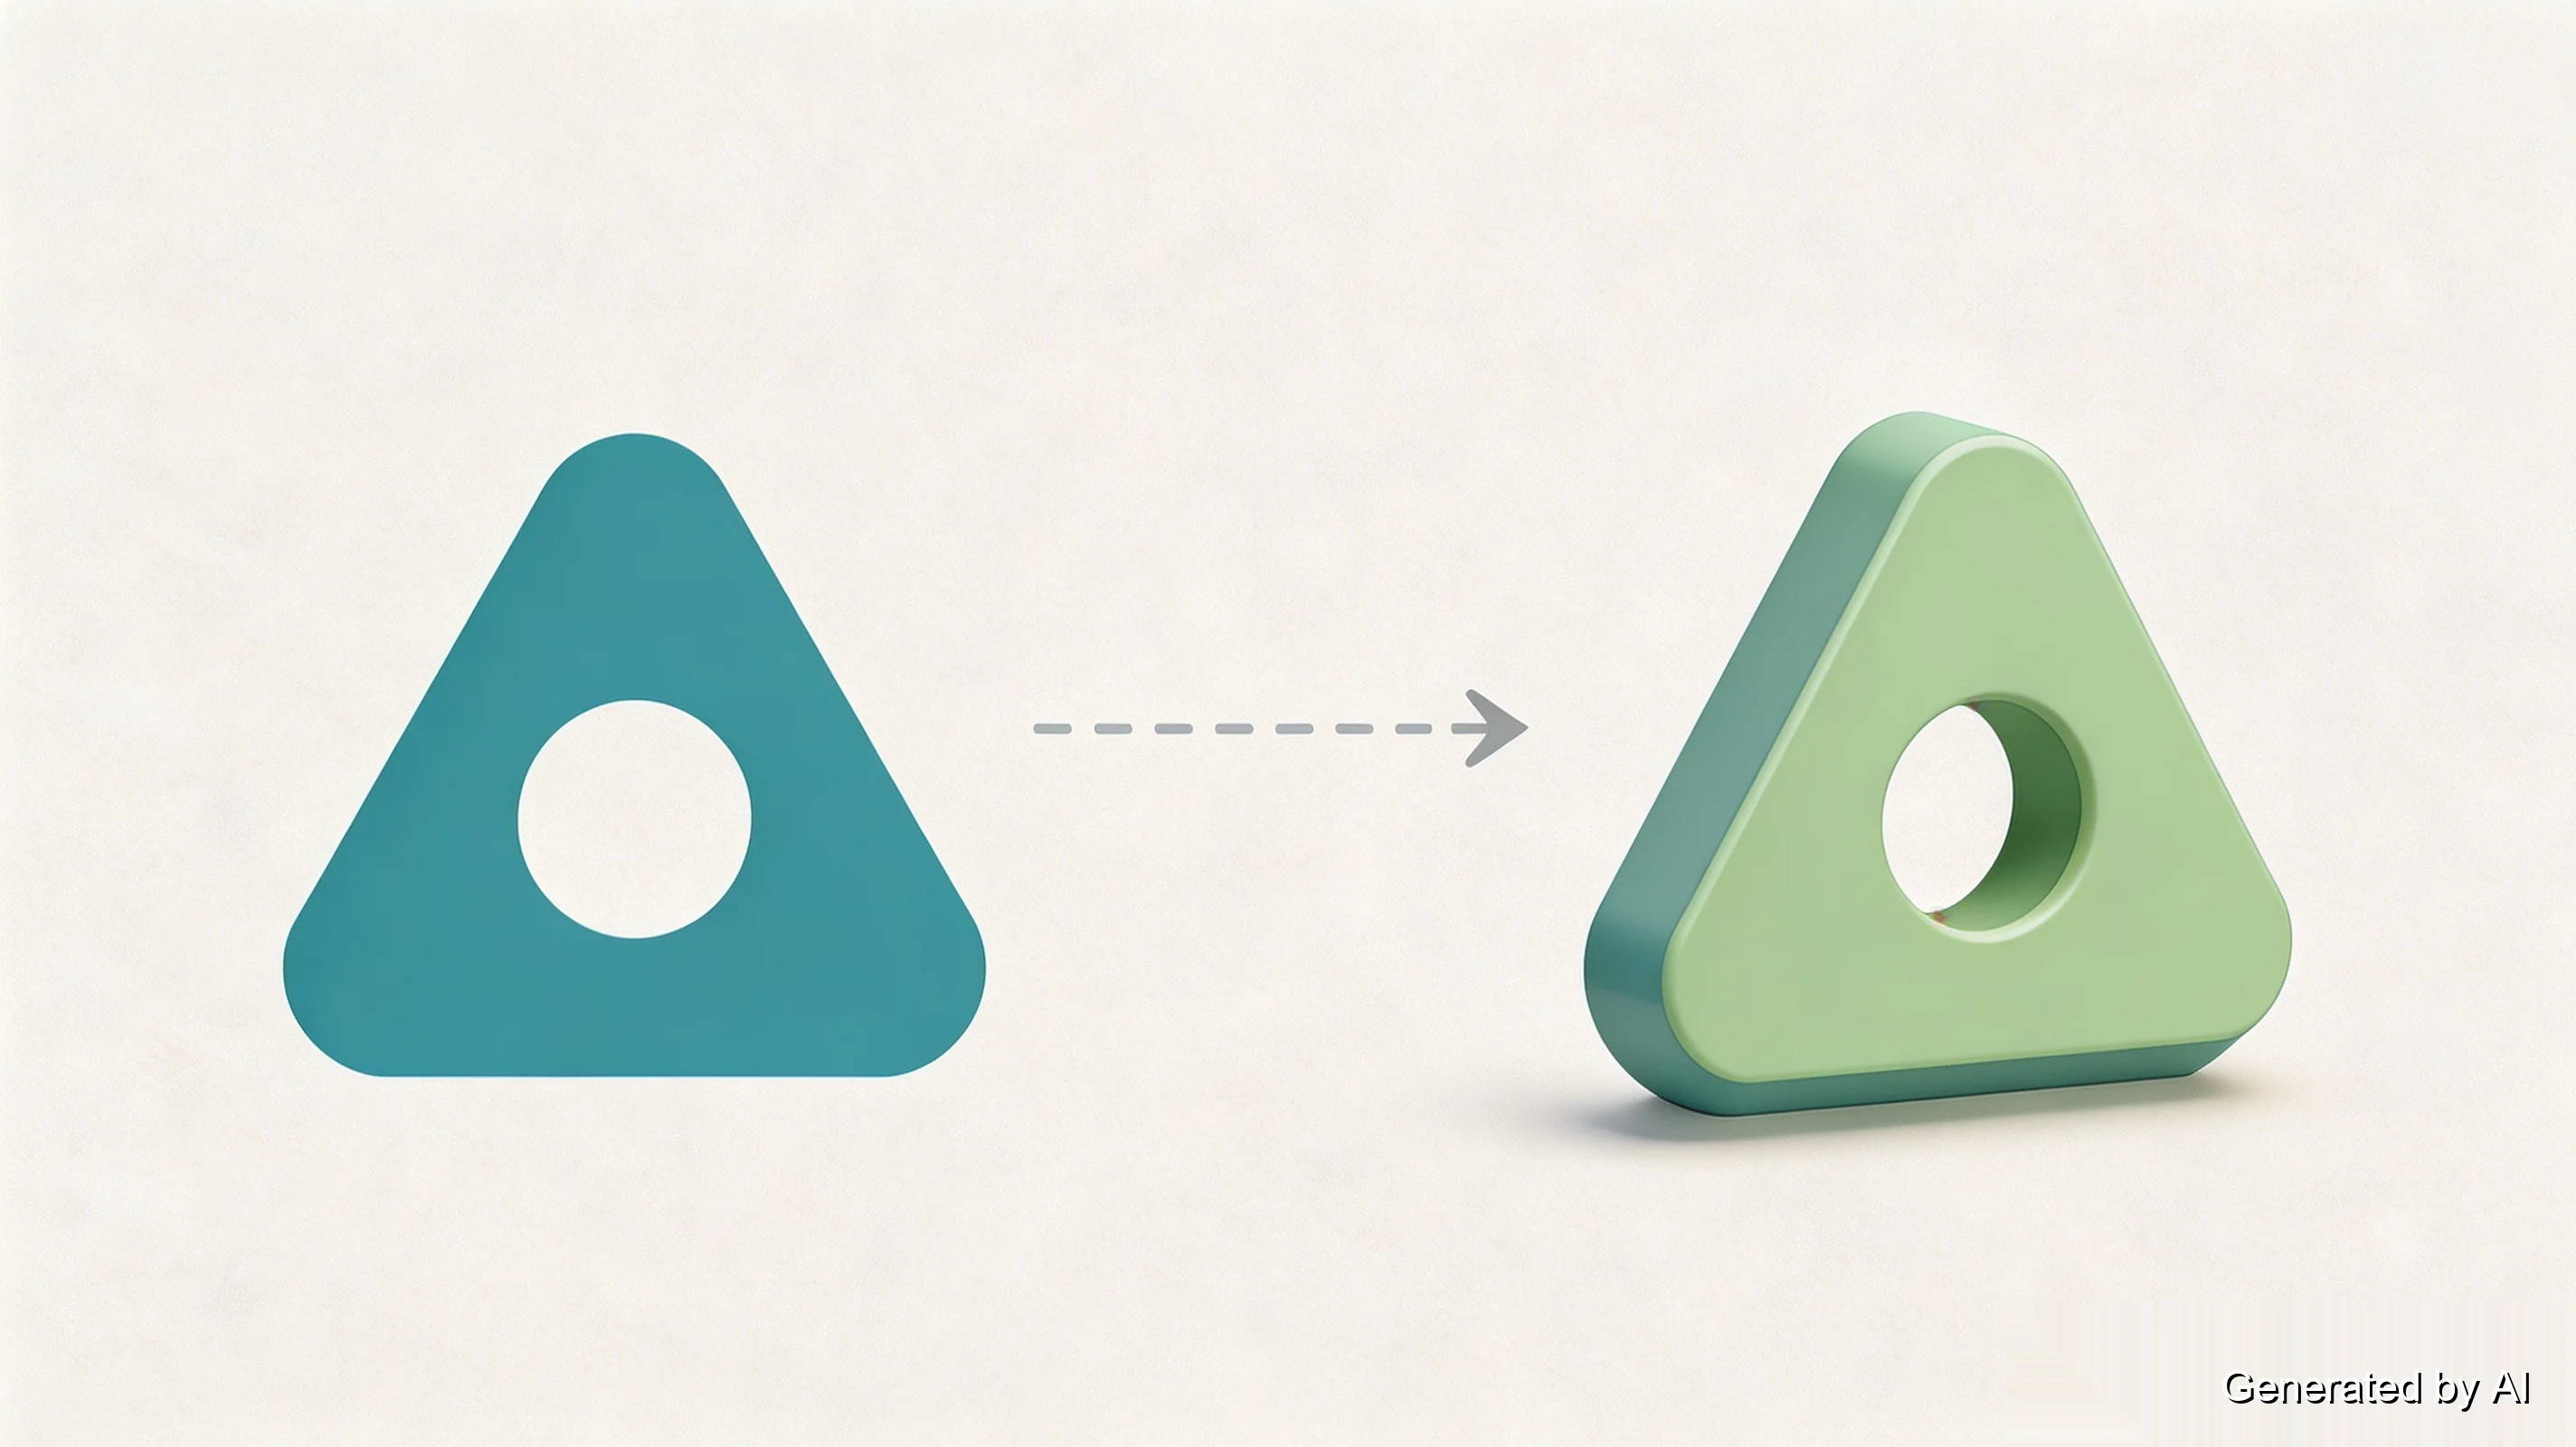
The second job is mechanical: take a shape's outline and pull it into the third dimension as a solid with uniform thickness. This is the converter mode for logos, icons, text, silhouettes — and the products are endless: stamps, cookie cutters, keychains, badges, signage, panel labels.
Vector sources beat raster ones. An SVG has true curves that scale cleanly; a JPG has pixels, and the converter has to trace them — every stairstep in the trace becomes a stairstep in your print. If all you have is a raster image, use the converter's trace mode with smoothing enabled and inspect the result at high zoom before printing. Most online image-to-STL converters have an extrude or contour mode that does this in one step; a CAD package extrudes traced or drawn profiles with more control when you need it.
Two practical checks before slicing. First, thickness *is* the design decision: a stamp wants a few millimeters of relief, a keychain tag wants body, a cookie cutter wants a thin cutting wall — set the extrusion depth to the part's job, not the tool's default. Second, look at the thin features: a stroke in the logo that came out hair-thin will print fragile or disappear, so widen it in the source image rather than hoping the printer copes.
Method 3 — AI Image to 3D Model
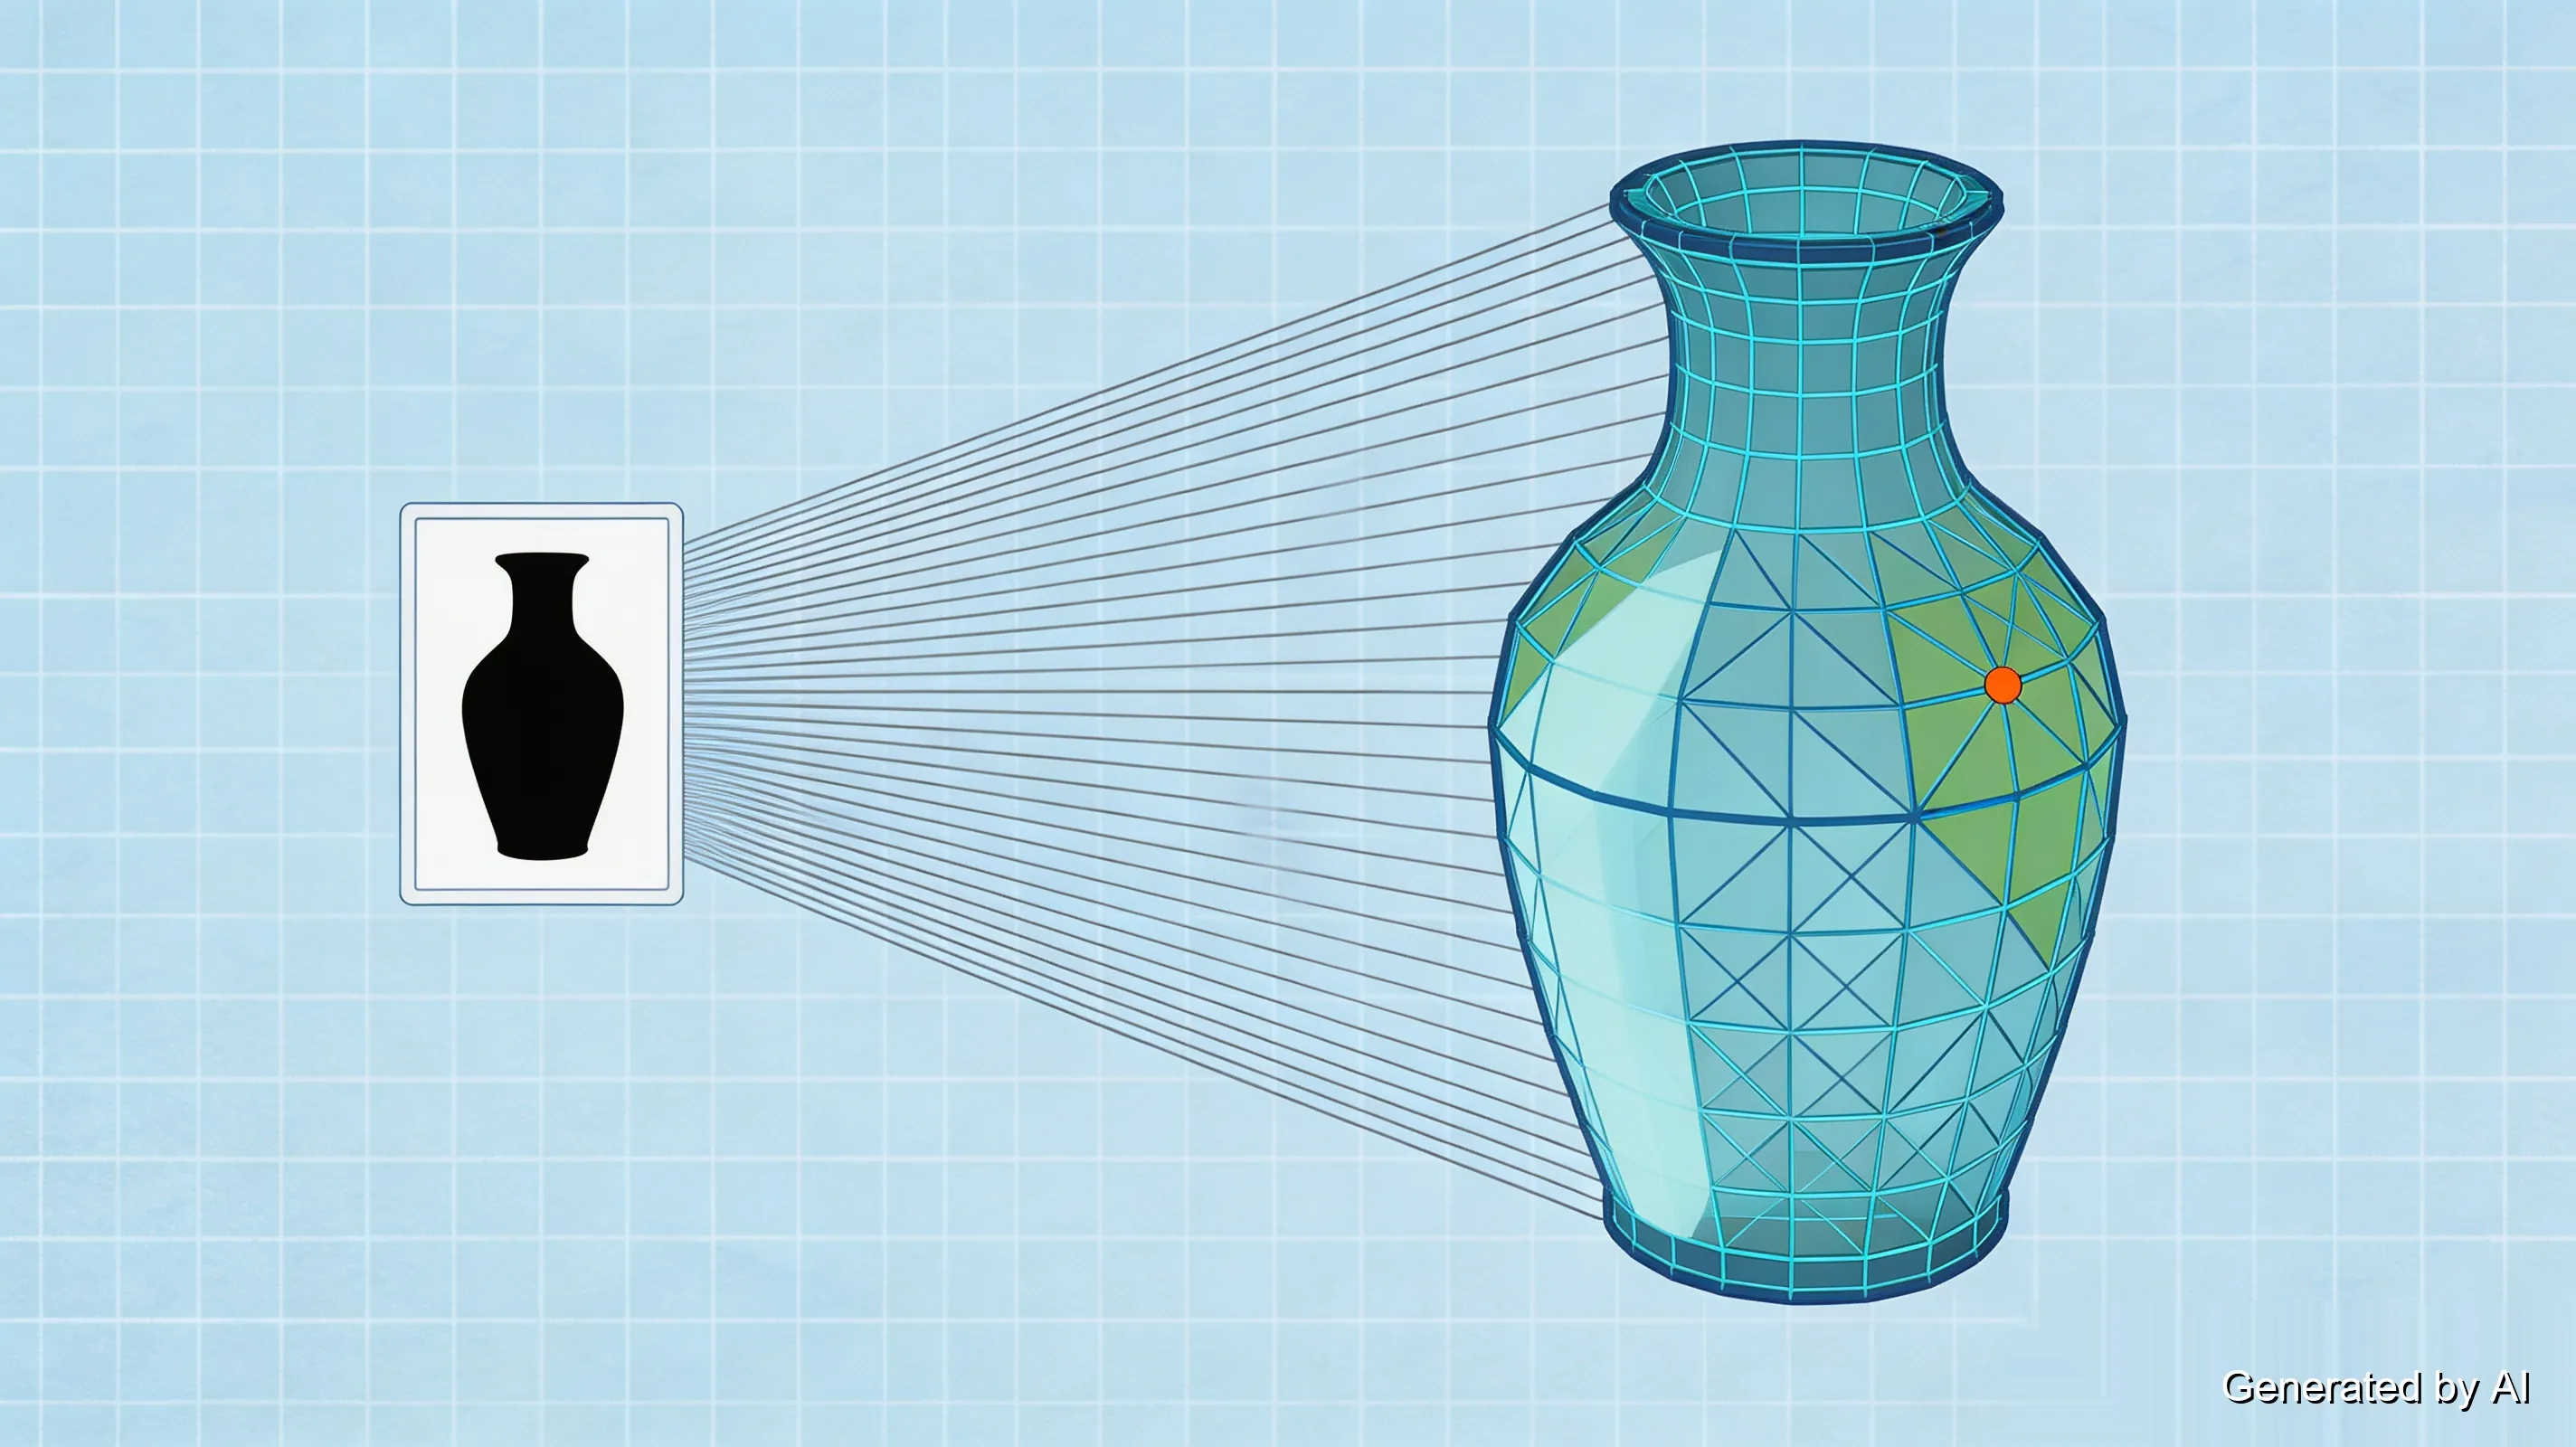
The first two methods are old geometry — brightness and outlines. AI generation is a different animal: it looks at a photo of an *object* and produces an actual three-dimensional mesh, inventing the sides and back the camera never saw. Where a lithophane of your coffee mug is a flat picture of it, an AI conversion of the same photo is a lumpy, recognizable mug.
That capability is new enough that expectations need calibrating. For decorative figures, concept models, and quick visual prototypes from a single photo, current AI tools produce genuinely printable meshes — this is the fastest route from "one photo of a thing" to "a thing". For anything with a job to do — mounting holes, load paths, dimensional accuracy — CAD remains the only honest answer. AI meshes come out with unpredictable topology, approximate size, and occasional creative reinterpretations of your object.
The workflow that works: generate, then inspect before trusting. Spin the mesh, switch to wireframe, and look for the two standard issues — holes and noise. Almost every AI mesh needs a repair pass to close gaps and a decimation pass to bring the triangle count down from the millions; both are quick with the right tools, and both are covered in the checklist below. A broader comparison of AI 3D generators — what each is good at, and when they disappoint — is in our AI 3D model generator guide.
The input photo rules carry over from Method 1: a clean background, even lighting, and a sharp subject give the model more to work with. A three-quarter view of the object beats a dead-on frontal shot, because the AI gets actual depth information to interpolate from rather than inventing the missing half outright. And a photo of one object converts far better than a photo of a scene full of them — pick your subject, frame it alone.
One line of caution that belongs in every AI conversation: check the tool's license for what you are allowed to do with the output, particularly for commercial use.
What Kind of Image Works Best?
An image is a grid of pixels. An STL is a mesh of triangles. A converter has to interpret the pixels and decide where solid material should exist — and the source image sets your ceiling in all three methods.
| Image quality factor | What it means for conversion |
|---|---|
| Resolution | Sets the detail ceiling — send full size, not compressed thumbnails |
| Contrast | High contrast between subject and background gives clean edges |
| Lighting | Even, frontal lighting beats dramatic shadows on faces and objects |
| Background | Clean or dark backgrounds convert better than busy ones |
A soft, gray, low-resolution image produces a soft, gray, low-resolution object — no converter fixes that. For logos, the cleanest input is a vector file (SVG) with true curves; for photos, export at full resolution with the subject clearly separated from the background.
Image to STL vs AI Image to 3D
Traditional image-to-STL converters use deterministic geometry: brightness maps to height (lithophanes), or an outline maps to extrusion depth (logos). The output is predictable — what you see in the image is what you get in the model, and you control every dimension.
AI image-to-3D is fundamentally different. The AI looks at a 2D photo and invents the 3D geometry the camera never captured — the sides, the back, the underside. You get a full object instead of a relief or extrusion, but the geometry is approximate, the topology is unpredictable, and the size is a guess.
The practical rule: if your image is a shape (logo, icon, silhouette), use a traditional converter — you want exact control, not invention. If your image is a photo of an object you want as a 3D model, AI is the only route — but plan on a cleanup pass before the file is printable.
Check the STL Before You Slice It
Whichever method produced your file, three checks take five minutes and prevent the classic failures.
Units first. Converters export raw numbers, and what "60" means depends on the tool's assumptions — STL files carry no unit of their own. Open the model in a viewer with measurement tools and confirm the real dimensions before anything else; the checklist in our how to open and view STL files guide walks through it with free tools.
Watertightness. Extruded logos are almost always solid; AI meshes almost never are. Holes, gaps, and non-manifold edges are visible in a wireframe view, and a mesh repair pass closes them before the slicer has opinions about it.
Triangle count. AI output routinely arrives with far more triangles than a printer can resolve. Reducing the face count shrinks the file, speeds the slicer, and costs nothing visible — for a lithophane or an extruded logo, it rarely comes up at all.
One more thing worth knowing: STL carries no color, so a colorful plan is a post-print job — painting and dyeing are covered in our guide to adding color to STL prints. And once the model passes its checks, upload it for an instant quote: dimensions, wall thickness, and weight are verified automatically, and an engineer reviews the model before production.
FAQ about Image to STL Converter
Q: Can I convert a JPG to STL?
Yes. Most online image-to-STL converters accept JPG files. For lithophane reliefs, a JPG works well as long as the resolution is high and the contrast is strong. For logo extrusion, a JPG works but a vector SVG produces cleaner curves because the converter does not have to trace pixels.
Q: Can I convert a PNG to STL?
Yes — PNG is accepted by most converters, and its transparency is useful for logo extrusion: a transparent background means the converter traces only the shape, not the surrounding pixels. For reliefs and AI generation, PNG and JPG produce similar results.
Q: Can I convert a logo to STL?
Yes, and it is the most reliable conversion of the three. A logo or icon with a clean outline extrudes into a solid shape with uniform thickness — the basis for stamps, cookie cutters, keychains, and signage. Use an SVG source if you have one; otherwise let the converter trace the raster image with smoothing enabled.
Q: What is the best free image to STL converter?
It depends on your image. For photo reliefs and lithophanes, a dedicated lithophane generator like ItsLitho gives the most control over thickness and form factor. For logo extrusion, most general image-to-STL converters have an extrude mode that works in one step. For AI image-to-3D, the tools are newer and output quality varies — see the converter table above.
Q: Can I convert an image to STL without installing software?
Yes. Most image-to-STL converters run in a browser — you upload the image, adjust settings, and download the STL without installing anything. Some process the image locally in your browser, which keeps it on your machine; others upload it to a server. If the image is private, prefer a local-processing tool or check the tool's privacy policy.
Q: Can Cura convert an image to an STL file?
No — Cura (and PrusaSlicer, and every other slicer) consumes STL files, it does not create them from images. Convert first with a lithophane generator or extrusion tool, then slice the result in your slicer of choice.
Q: Do you need special filament for lithophanes?
No special product is required — what matters is translucency. Natural or clear PLA is the common choice; translucent PETG also works. Opaque filaments defeat the entire mechanism, since light can no longer pass through thin areas.
Q: What makes a good photo for a lithophane?
High contrast, a subject clearly separated from the background, and even frontal lighting on faces. Dark backgrounds convert to sturdy borders, and full-resolution files preserve detail that compression destroys.
Q: Why does my lithophane print look too dark?
Thickness is the exposure control. If the whole image reads dark, lower the maximum thickness first — light has too much plastic to get through. Still dark? Brighten the source photo itself before converting. And judge the result under the backlight you will actually use; a lithophane evaluated under ceiling light always looks wrong.
Q: Is AI image-to-3D good enough for printing?
For decorative and concept prints, yes — current tools produce recognizable, printable meshes from a single photo. For functional parts with dimensions that matter, no; AI output needs cleanup at minimum and real CAD for engineering work.
Q: Are free online image to STL converters safe?
It depends on what they do with your file. Some converters process images locally in your browser, which keeps sensitive images on your machine; others upload them to a server. If the image is private, prefer a local-processing tool or check the tool's privacy policy before uploading.
Q: Can I make a lithophane with a resin printer?
Yes, and resin's fine detail suits lithophanes well — translucent resin exists for exactly this use. The brightness-to-thickness principle is identical; only the printing workflow differs, along with the usual resin handling and curing precautions.
From Image to Object
Three routes, one decision: match the method to the image. Photos become lithophanes that hide in plain sight until the light comes on; logos become solid objects in a minute; objects become meshes with a bit of AI help and a cleanup pass. In every case the last five minutes — checking units, closing holes, taming the triangle count — are what separate a first-print success from a filament sculpture of frustration. After that, printing it yourself or sending it to a service is the easy half of the job.
Keep Learning
How to Edit STL Files: Tools and Techniques That Work
Key Takeaways You can edit STL files without going back to CAD: mesh editors handle scaling, cutting, combining, and sculpting directly on the triangle mesh. STL files carry no feature history, so CAD-style edits (change one hole diameter, thicken one wall) are not possible directly: you either edit the mesh or convert it back to a solid model first. The right STL editor depends on the job: Tinkercad or 3D Builder for quick scaling, Meshmixer for cutting and combining, Blender for sculpting, and FreeC......
Image to STL: Convert Images to STL Online for Free
Key Takeaways You can convert an image to STL — the right method depends on what the image shows: a photo becomes a lithophane relief, a logo becomes an extruded shape, or an object photo becomes an AI-generated mesh. Free online converters handle all three methods in a browser, no software install required — pick one based on your image type, not on a tool's marketing. Lithophanes encode photo brightness as thickness; the result prints in translucent filament and reveals the image under backlight. So......
How to Open STL Files: 4 Free Ways (Online, Windows, Mac)
Key Takeaways The fastest way to open an STL file is to drag it into a free online 3D viewer — no installation, works on any device with a browser. On Windows, the built-in 3D Viewer app ships with Windows 10 but may be missing on recent Windows 11 builds, and Paint 3D left the Microsoft Store in November 2024 — the built-in route is fading. macOS and phones ship with no STL viewer at all; a browser-based viewer covers both without installing anything. STL files carry no units. Always confirm the file......
OrcaSlicer vs Prusa, Bambu & Cura: All Features, Pros & Cons Compared
Orca Slicer is gaining fans fast, but is it really better than the slicers we’ve trusted for years? Whether you're troubleshooting stringy overhangs, dialing in support settings, or optimizing for speed, your slicer software plays a massive role in how your final print turns out. And with the growing popularity of Orca Slicer, especially among Bambu Lab users and tinkerers looking for more control, the question arises: how does it actually stack up against Cura, PrusaSlicer, and Bambu Studio? In this ......
What Is an STL File? Inside the Format Every Slicer Reads
Key Takeaways An STL file describes a 3D shape as a list of triangles — geometry and nothing else. No units, no color, no material, no assembly structure. The format dates to the late 1980s, created for the first stereolithography machines, and it remains the one format practically every slicer reads. STL comes in binary and ASCII variants holding the same mesh; ASCII runs several times larger and has no place in a print workflow. A fully closed shell of triangles. Holes and flipped normals are the de......
How to Repair STL Files: Fix Mesh Errors Before 3D Printing
Key Takeaways STL file repair fixes mesh errors such as holes, non-manifold edges, flipped normals, and duplicate vertices, but it does not correct incorrect dimensions or underlying geometry. Before you repair an STL file, check its dimensions and units. STL files generally do not store explicit unit information, so incorrect scale can make a printable model unusable. A repaired or fully closed STL file is not necessarily printable. Repair only fixes mesh errors — wall thickness, minimum feature size......