How to Repair STL Files: Fix Mesh Errors Before 3D Printing
16 min
- Introduction
- What Is STL File Repair?
- How to Check If an STL File Is Ready for 3D Printing
- Common STL Mesh Errors
- How to Repair an STL File
- Free STL Repair Tools
- Repair or Rebuild?
- Does STL Repair Depend on the 3D Printing Process?
- Which STL Files Need Repair Most Often
- STL Repair Checklist Before 3D Printing
- What Happens When You Send an STL to a Manufacturing Service
- FAQ about Repair STL Files
Key Takeaways
- STL file repair fixes mesh errors such as holes, non-manifold edges, flipped normals, and duplicate vertices, but it does not correct incorrect dimensions or underlying geometry.
- Before you repair an STL file, check its dimensions and units. STL files generally do not store explicit unit information, so incorrect scale can make a printable model unusable.
- A repaired or fully closed STL file is not necessarily printable. Repair only fixes mesh errors — wall thickness, minimum feature size and dimensions are design questions to check separately before production.
- STL repair for 3D printing depends on the manufacturing process. FDM, SLA, SLS, MJF, SLM, and binder jetting have different requirements for wall thickness, features, supports, and enclosed cavities.
- If STL mesh errors are caused by incorrect dimensions, insufficient wall thickness, or fundamentally wrong geometry, repair software is not enough. Rebuild the model or correct the original CAD geometry instead.
Introduction
An STL file can look perfect on screen and still be unprintable. The format stores nothing but a list of triangles, so it will happily describe a surface with holes in it, faces pointing the wrong way, or walls with no thickness at all.

Most guides stop at "run it through a repair tool." That closes the holes and leaves the real question open: a repaired mesh is not the same as a printable part. A file can be perfectly closed and still fail because the walls are too thin for the process, or a hollow section has no way to release powder, or the scale was wrong from the start.
Quick answer: check the dimensions first, run the mesh through 3D Builder or Blender, then validate the result against the process you actually intend to use. If the shape itself is wrong rather than just the surface description, rebuild it instead of repairing it.
What Is STL File Repair?
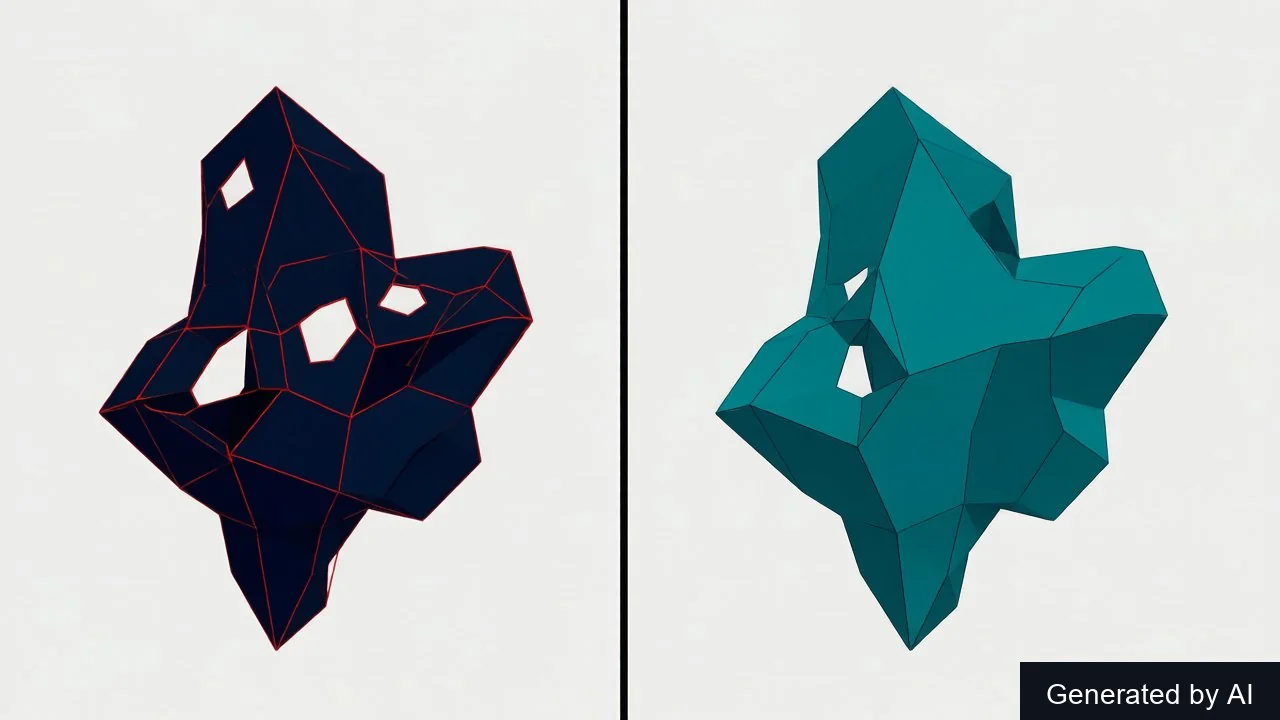
STL repair means making a mesh manifold — a closed volume where every edge is shared by exactly two faces and all normals point outward. A slicer needs that to decide what is inside the part and what is outside. In practice, the errors that fall inside this scope are unclosed holes and gaps, flipped triangles, bad (non-manifold) edges, and stray or interfering shells.
What repair does *not* do is change the shape. It cannot make a wall thicker, correct a wrong dimension, or turn a sloppy surface into a precise mating face. Repair fixes how the surface is described; the geometry itself stays whatever it was. Wrong dimensions and thin walls are design problems, not mesh errors — worth checking before you print, but no repair tool will touch them.
That distinction is the whole reason this article has two halves.
How to Check If an STL File Is Ready for 3D Printing
Five checks separate "the mesh is valid" from "this will come out of a machine", and they sit in two different dimensions. The first two are model errors — the actual scope of STL repair, and what a repair tool can fix. The next two are design problems — dimensions and wall thickness — which no repair tool touches, but which fail more prints than mesh errors do. The sliced preview is the final gate for both.
Check that the mesh is closed
Holes, open edges, gaps, non-manifold geometry. Blender's 3D Print Toolbox reports each category separately with counts, which is more useful than a pass/fail — a file with 4,000 non-manifold edges is a different problem from one with three.
Check for stray and duplicate shells
A stray shell is a leftover piece of geometry riding along in the file — the remains of a boolean, a duplicated copy of the part, a fragment nobody deleted. Slicers list them as separate objects, and the failure mode is concrete: a duplicate shell prints a second copy fused to the first, and a stray fragment prints as a floating piece connected to nothing. Most mesh tools show the shell count, and deleting the shells you do not want is a one-click fix.
Check dimensions and units
A design check rather than a repair, but ten seconds well spent: read the bounding box before you trust anything else about the file. Cura shows it under the model, PrusaSlicer in the right-hand object panel, 3D Builder the moment a file opens.
STL carries no unit information. A 1-inch cube is written as 1, and a slicer expecting millimetres reads it as 1mm — so the part arrives 25.4 times too small, and nothing in the file says otherwise. It is the most common scaling failure in 3D printing and it has no fix other than looking.
Where both ends of your workflow support it, 3MF removes the problem by recording units inside the file. We compared the two in 3MF vs STL.
Check wall thickness and minimum features
Also design, not repair — and where most "but I repaired it" failures actually live. No mesh fix adds thickness: a 0.3mm wall will not print reliably on a 0.4mm nozzle, however clean the file is.
Two numbers matter — the thinnest wall in the model, and the smallest feature you expect to survive, such as a pin, an embossed logo, or a thread. Both are process-dependent, which is covered further down.
Check the slicer preview
The last check, and the one that catches what the others miss. Slice the file and step through a few layers looking for missing surfaces, cavities that should not exist, disconnected islands, or toolpaths that wander. Thirty seconds here has saved a lot of four-hour prints.
Common STL Mesh Errors
| Error | Typical Cause | How to Fix | Manufacturing Risk |
|---|---|---|---|
| Non-manifold edges | Boolean operations, merged shells | Merge or remove the geometry | Slicer cannot tell what is solid |
| Holes and gaps | Missing faces, scan data, surface seams | Fill holes, close the gaps | Open surfaces, missing top or bottom |
| Flipped normals | Faces oriented inward | Recalculate normals | Inside and outside get swapped |
| Duplicate vertices | Unmerged mesh data | Merge by distance | Invisible seams, topology failures |
| Stray or dup. shells | Leftover boolean geometry, merged files | Delete the shells you do not want | Extra floating pieces, doubled geometry |
| Self-intersections | Overlapping geometry, sculpting brushes | Usually safe to leave as-is | Rarely affects the print — slicers resolve it |
Two of these deserve extra attention. Duplicate vertices are the most likely to pass a visual inspection — two points at the same coordinates that were never joined, so the model looks closed and is not. Flipped normals are the most confusing to debug, because the slicer disagrees with itself about what is interior and you get missing walls or cavities that fill in.
How to Repair an STL File
- Check the dimensions first — a design check, not a repair. It costs ten seconds and catches the units problem before you spend effort on anything else.
- Run an automatic mesh repair. In 3D Builder, this is a single Repair button. Most files are finished at this point.
- If it still fails, identify the errors. Blender's 3D Print Toolbox tells you which error type you have and how many instances of it.
- Fix by error type. Fill holes, recalculate normals, merge vertices by distance, delete stray shells — each has a dedicated operator, so you are not guessing.
- Re-check the mesh. Repair operations can introduce new errors of their own.
- Re-slice and read the preview. Step through layers rather than trusting a clean import.
If the file is a 3D scan, insert a cleanup pass before step 3 — reducing noise and triangle count first makes everything after it easier. Sculpts and scans routinely carry millions of triangles when 200,000 to 500,000 is plenty; see decimating STL files.
Free STL Repair Tools
Search for an STL fixer and you get dozens of results, most of them wrapping the same handful of engines. Three free tools cover almost everything.
Microsoft 3D Builder
Ships with Windows and is the fastest way to fix a file. Open it, and if the mesh has problems 3D Builder offers a Repair button — one click closes holes, flips reversed faces and resolves non-manifold edges on most broken files. It also shows dimensions the moment a file loads, so it doubles as your scale check.
Beyond that it does very little, which is the point: one job, about ten seconds.
Blender with the 3D Print Toolbox
Where you go when the one-click fix was not enough. The 3D Print Toolbox turns Blender into a mesh inspector that lists non-manifold edges, thin walls, overhangs past an angle you set, and intersecting faces, with counts for each. Blender then has a dedicated operator per error type.
One thing catches people out: the Toolbox is no longer a bundled add-on. For years you enabled it from Blender's add-ons list; since Blender 4.2 it lives on extensions.blender.org as a separate extension (currently v1.4.1), so you drag it in or install from disk. Plenty of tutorials still point at the old list, where you will not find it.
Meshmixer
Still good at hollowing, branching supports, sculpted repairs, and print-bed orientation. The caveat matters, though: Autodesk's position is that Meshmixer is no longer in development and will not be supported going forward, and the last release is version 3.5.0. Fine to use, risky to build a workflow around.
For heavier work there are paid options — Netfabb for difficult meshes and batch repair, Materialise Magics for full production build preparation, and MeshLab (free, open source) if you process 3D scan data regularly. Most people never need them.
Repair or Rebuild?
| Problem | Repair | Rebuild |
|---|---|---|
| Small surface hole | ✓ | |
| Flipped normals | ✓ | |
| Duplicate vertices | ✓ | |
| Minor non-manifold geometry | ✓ | |
| Stray or duplicate shells | ✓ | |
| Large missing surface | △ | ✓ |
| Wrong dimensions or scale | ✓ | |
| Wall thickness below process limits | ✓ | |
| Poor underlying CAD geometry | ✓ | |
| A functional mating surface | △ | ✓ |
Note: ✓ = the usual fix. △ = sometimes possible, but check the result against what the geometry was meant to be.
The pattern behind the table: repair fixes how the surface is described; rebuilding fixes what the shape is. Auto-filling a large hole invents surface that was never designed, and if that surface has to mate with something, no repair tool can help. A mesh has no dimensions to edit either, so precision work means going back to CAD.
One practical signal: if two rounds of repair each introduce new errors, the topology is too tangled to salvage.
Does STL Repair Depend on the 3D Printing Process?
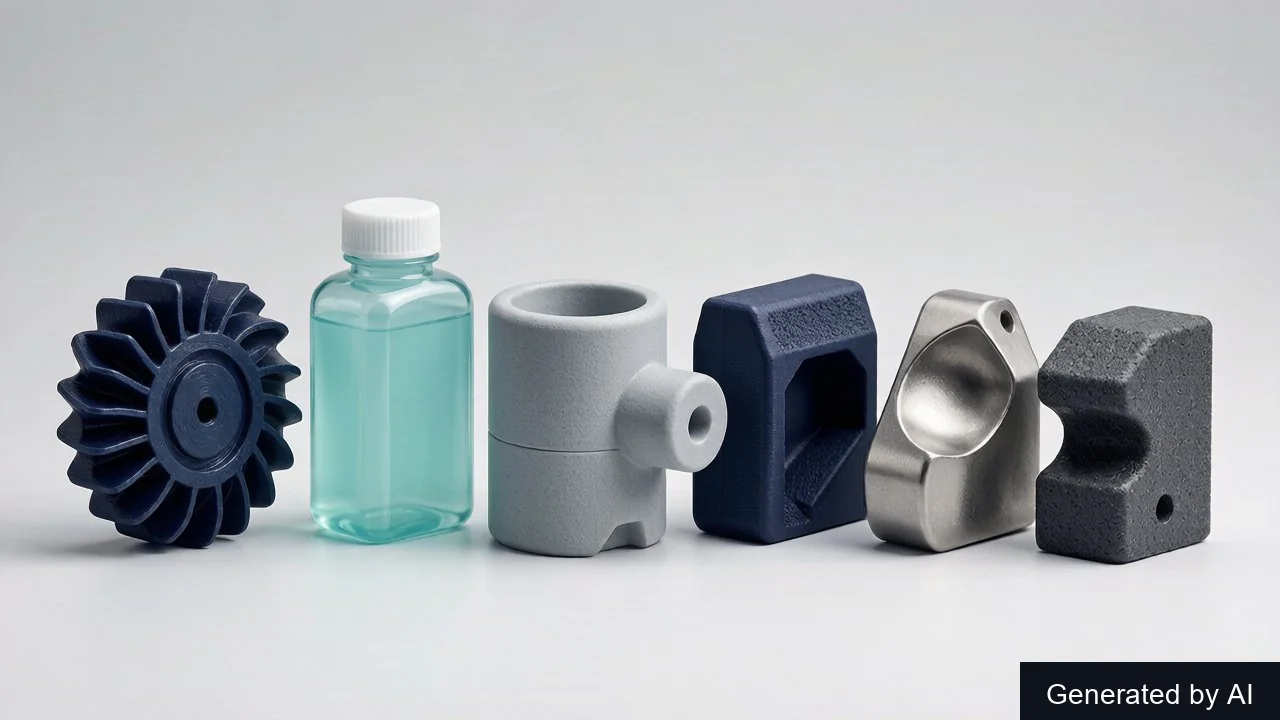
Yes, and this is the part software-focused guides skip. The same repaired file can be fine for one process and unmanufacturable in another.
| Process | What Matters Most in the File |
|---|---|
| FDM | Wall thickness vs nozzle diameter, overhang angles, layer-direction strength |
| SLA | Minimum feature size, thin fragile walls, resin trapped in enclosed cavities |
| SLS | Wall thickness, powder evacuation from hollows, enclosed cavities |
| MJF | Wall thickness, small feature resolution, powder removal paths |
| SLM | Wall thickness, unsupported geometry, features surviving support removal |
| Binder Jetting(BJ) | Wall thickness, fragile green-state features, powder removal, sintering shrinkage |
Two things worth noticing there.
Powder processes need escape routes. SLS, MJF, and binder jetting build inside a bed of powder, so a fully enclosed hollow traps it. The mesh is valid; the part is not manufacturable without a drain hole. Mesh repair tools do not flag this, and catching it takes build-preparation software or a human review.
Binder jetting adds a shrinkage step. Parts leave the printer as fragile green bodies and then sinter, shrinking 10–20%. That is compensated during build preparation rather than in your file, but it explains why fine features behave differently than in SLA.
Deliberately absent above: specific millimetre values. They shift with material, machine and parameters, so a single number would mislead. For actual figures, check the 3D printing design guideline for your process and material.
Which STL Files Need Repair Most Often
Where the file came from predicts what is wrong with it.
3D-scanned meshes
The worst offenders. Expect holes where the scanner had no line of sight, noisy surfaces, duplicate vertices from overlapping passes, non-manifold regions where passes were stitched together, and far more triangles than you need.
Sculpted models
Overlapping and self-intersecting triangles from brushes crossing over themselves — mostly harmless for printing, since slicers resolve the overlap — plus very dense meshes, and features that look fine on screen but are thinner than any process can hold. Sculpting tools were never built to care about manufacturability.
Downloaded STL files
Units are the problem, because you have no idea what the author designed in. Topology quality varies with how the model was made and how many times it was re-exported.
CAD exports
Usually the cleanest of the four. When they do have problems it is normally tessellation — export tolerance too coarse, leaving visible facets on curved surfaces, or so fine the file becomes unwieldy.
STL Repair Checklist Before 3D Printing
Run this before committing machine time or placing an order.
Scale
- X / Y / Z dimensions read and confirmed
- Units correct — no 25.4× surprise
- Fits the build volume
Mesh
- Mesh fully closed, no open edges or gaps
- No non-manifold edges
- Normals all facing outward
- No stray or duplicate shells
- Duplicate vertices merged
Manufacturability
- Thinnest wall meets the process limit
- Smallest feature will survive the process
- Hollow sections can release powder or resin
- Printing process and material confirmed
- Sliced preview stepped through and looks right
Anything unticked is a print that might fail. Everything ticked and it becomes a manufacturing question rather than a file question.
What Happens When You Send an STL to a Manufacturing Service
Once your own checks pass, it is worth knowing what happens next, because a service is stricter than a desktop slicer.
At JLC3DP the model goes through an automated printability screen covering dimensions, wall thickness and weight, with two hard numbers deciding the outcome: wall thickness above 1.2mm, and no feature thinner than 0.8mm.
Then a human looks at it. An engineer reviews the file for problems software cannot catch and comes back with options, normally within 4 to 6 business hours. That review sits between your upload and your payment, not after it — so a bad mesh costs you queue time rather than a wasted print.
Practical limits: STL is the recommended format, with STP, STEP and OBJ also accepted, and 3MF for colour prints in PAC-HP nylon. Files cap at 100MB, you can upload 10 models at once, and each file must contain exactly one model.
FAQ about Repair STL Files
Q: Why does my STL file look fine but still fail to print?
Because the problems that break a print are mostly invisible on screen. Non-manifold edges, flipped normals, duplicate vertices and stray shells do not show up in a preview render, and none of them stop the file from displaying correctly. It can also be the wrong scale, or have walls below what your process can produce.
Check in this order: scale first — the 25.4× units error is the single most common failure — then mesh validity, then wall thickness against your process, then the sliced preview.
Q: How do I get the dimensions of an STL file?
Read the bounding box in any slicer, or open the file in 3D Builder which shows dimensions immediately. Always do this for files you did not export yourself, because STL carries no units and a model designed in inches will be read as millimetres.
Q: How do I check if an STL file is printable?
Repairing it is only the first half. Confirm dimensions and units, verify the mesh is closed, check the thinnest wall and smallest feature against your chosen process, then step through the sliced preview. For powder processes, also confirm hollow sections can release powder.
Q: Is there a free online STL fixer?
Browser-based fixers exist and they work for simple cases — upload, auto-repair, download. The limits are file size, no control over how the repair is done, and uploading geometry you may not want sitting on someone else's server. For anything you care about, 3D Builder does the same job locally in about ten seconds.
Q: What is the best free STL repair tool?
Microsoft 3D Builder on Windows, because the Repair button handles most holes, flipped normals and non-manifold edges in one click. Blender with the 3D Print Toolbox is the better choice when you need an error report rather than just a fix.
Q: Should I repair an STL or rebuild the model?
Repair surface-level problems: small holes, flipped normals, duplicate vertices, minor non-manifold geometry, stray shells. Rebuild when the shape itself is wrong — bad dimensions, walls too thin for the process, or a functional mating surface.
Q: Can a slicer repair STL files automatically?
Cura and PrusaSlicer both attempt repair when loading a model and both succeed on minor problems, without saying much about what they changed. That is convenient and occasionally a trap: a silently patched file can print with geometry you did not design.
Conclusion: Repair STL Files
Repair is the easy half. A free tool closes the holes in about ten seconds, and for most files that is genuinely the end of it.
The half that decides whether you get a usable part is what comes after: confirm the scale, confirm the mesh is closed, then check the thinnest wall against the process you actually intend to use. A closed mesh with 0.5mm walls is a valid mesh and a failed print, and no repair tool will tell you so. Powder processes need escape routes, resin processes need drainage, and if the shape itself is wrong, rebuilding beats patching.
Keep Learning
3D Printer Tools: Essential Accessories for 3D Printing Projects
If you own a 3D printer and want to make the printing process as smooth as possible and improve your 3D printing experience, the right 3D printer tools are worth equipping. This guide will recommend you common tools related to 3D printers, and you can choose according to your actual needs. 1. Print bed tools Print bed tools are important auxiliary tools for 3D printing. The following tools can reduce print failures caused by poor adhesion or damage to the bed surface. Glue sticks: Commonly used in FDM......
The Importance of 3D Scanners in 3D Printing: Improving Precision and Efficiency
3D printing can quickly transform digital models into entities, while 3D scanning generates digital models by capturing the three-dimensional shape of an object. The two are closely linked to form an efficient cycle, which not only improves production efficiency, but also opens up new ideas for design and manufacturing, and promotes the realization of a variety of applications from prototyping, customization to reverse engineering. Source: https://www.sculpteo.com/en/3d-learning-hub/basics-of-3d-print......
How to Edit STL Files: Tools and Techniques That Work
Key Takeaways You can edit STL files without going back to CAD: mesh editors handle scaling, cutting, combining, and sculpting directly on the triangle mesh. STL files carry no feature history, so CAD-style edits (change one hole diameter, thicken one wall) are not possible directly: you either edit the mesh or convert it back to a solid model first. The right STL editor depends on the job: Tinkercad or 3D Builder for quick scaling, Meshmixer for cutting and combining, Blender for sculpting, and FreeC......
Image to STL: Convert Images to STL Online for Free
Key Takeaways You can convert an image to STL — the right method depends on what the image shows: a photo becomes a lithophane relief, a logo becomes an extruded shape, or an object photo becomes an AI-generated mesh. Free online converters handle all three methods in a browser, no software install required — pick one based on your image type, not on a tool's marketing. Lithophanes encode photo brightness as thickness; the result prints in translucent filament and reveals the image under backlight. So......
How to Open STL Files: 4 Free Ways (Online, Windows, Mac)
Key Takeaways The fastest way to open an STL file is to drag it into a free online 3D viewer — no installation, works on any device with a browser. On Windows, the built-in 3D Viewer app ships with Windows 10 but may be missing on recent Windows 11 builds, and Paint 3D left the Microsoft Store in November 2024 — the built-in route is fading. macOS and phones ship with no STL viewer at all; a browser-based viewer covers both without installing anything. STL files carry no units. Always confirm the file......
OrcaSlicer vs Prusa, Bambu & Cura: All Features, Pros & Cons Compared
Orca Slicer is gaining fans fast, but is it really better than the slicers we’ve trusted for years? Whether you're troubleshooting stringy overhangs, dialing in support settings, or optimizing for speed, your slicer software plays a massive role in how your final print turns out. And with the growing popularity of Orca Slicer, especially among Bambu Lab users and tinkerers looking for more control, the question arises: how does it actually stack up against Cura, PrusaSlicer, and Bambu Studio? In this ......